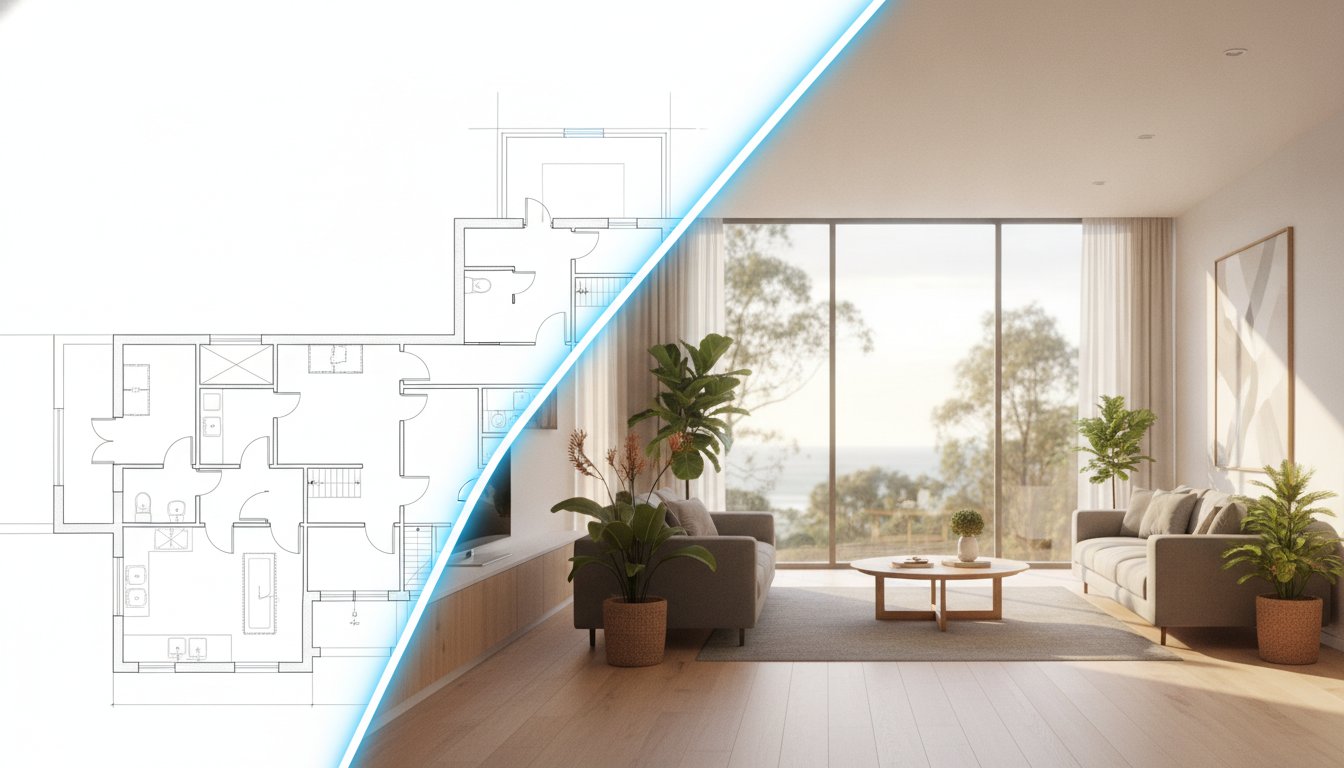
In the competitive world of Australian property, buyers are making split-second decisions based on what they see on their screens. You only get one chance to make a first impression.
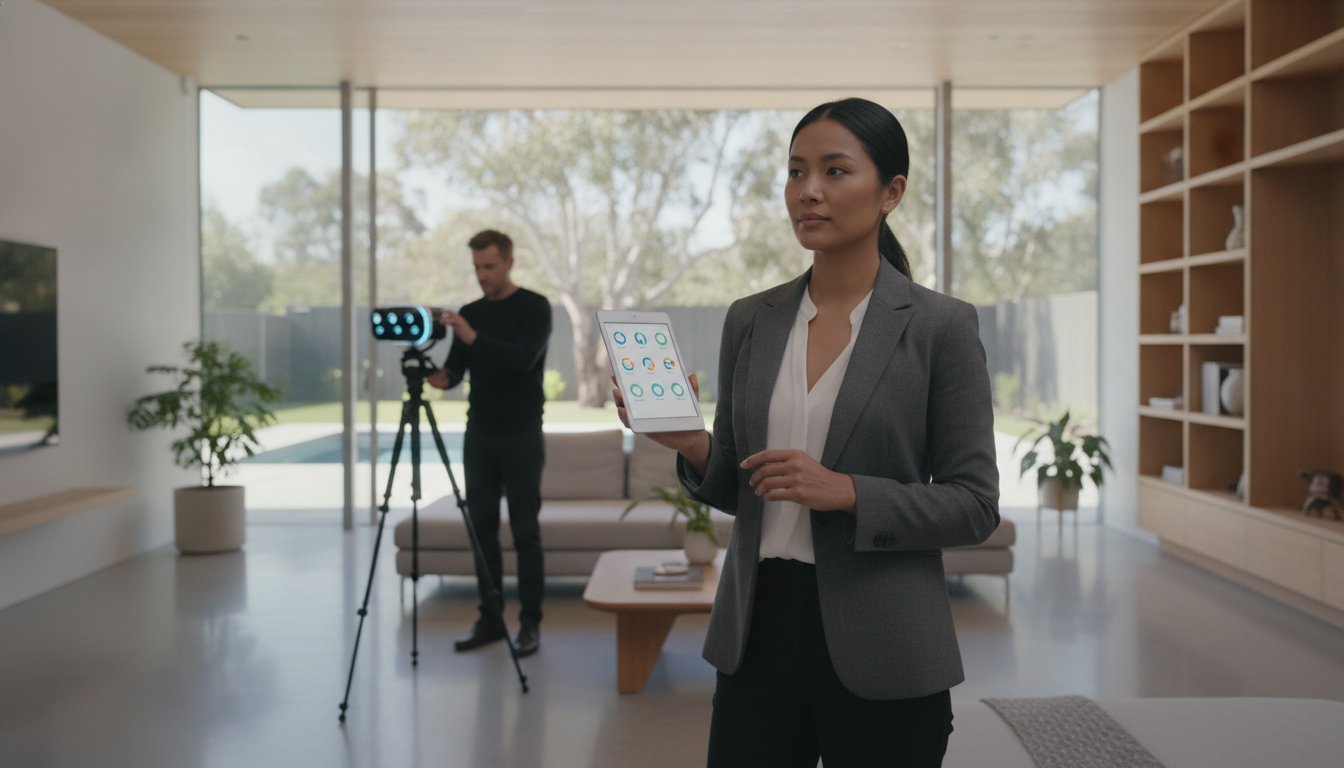
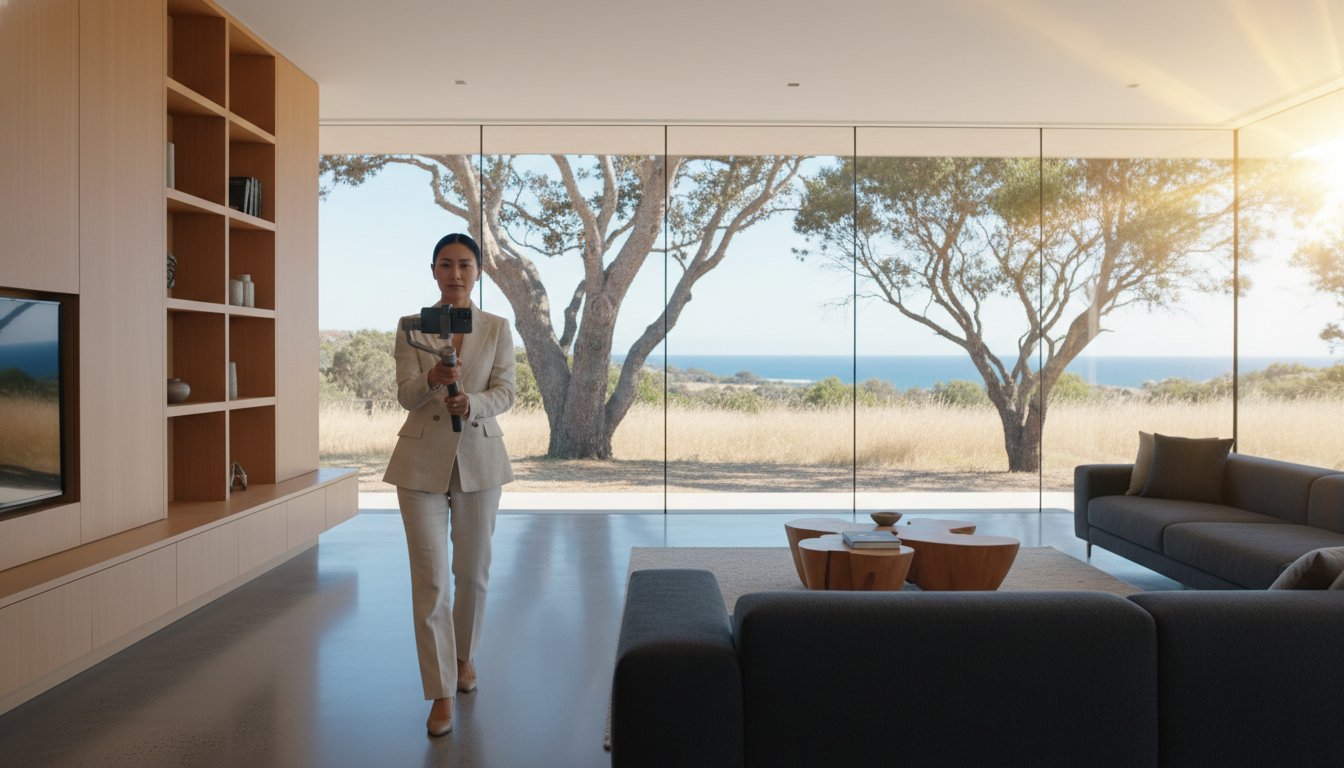
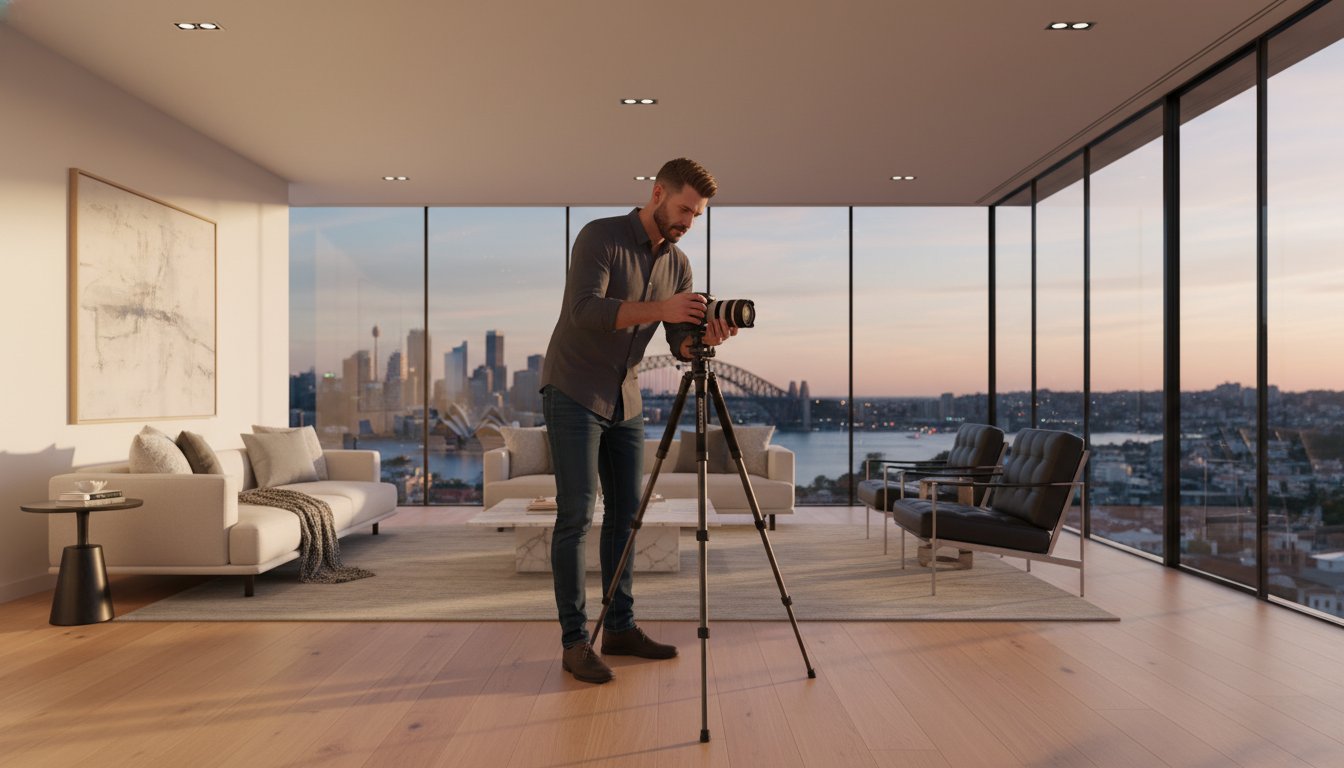
While hiring a top-tier real estate photographer Melbourne agents recommend is step one, the way you present your home before they arrive is the real game-changer. Photographers work on strict schedules; if they spend the first 20 minutes moving boxes or hiding cables, that’s less time spent capturing the perfect "hero shot" of your facade.
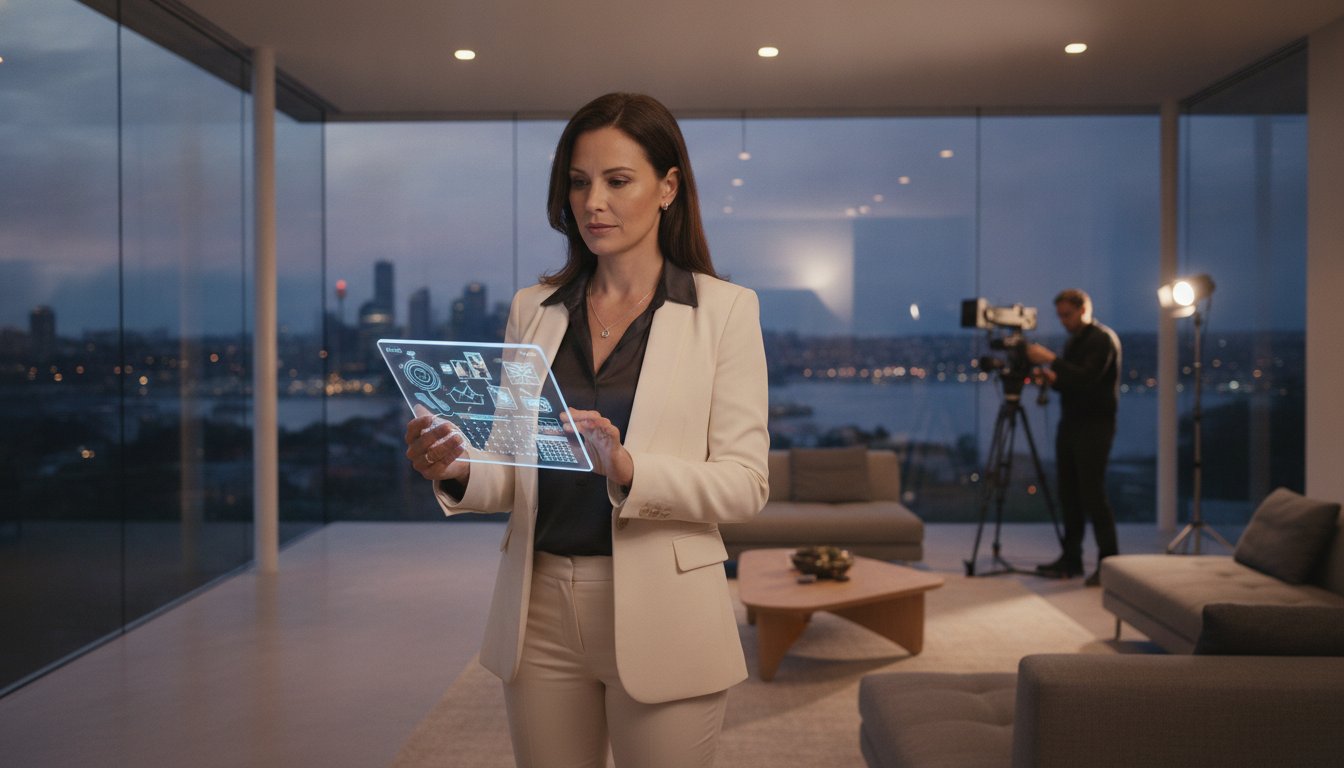
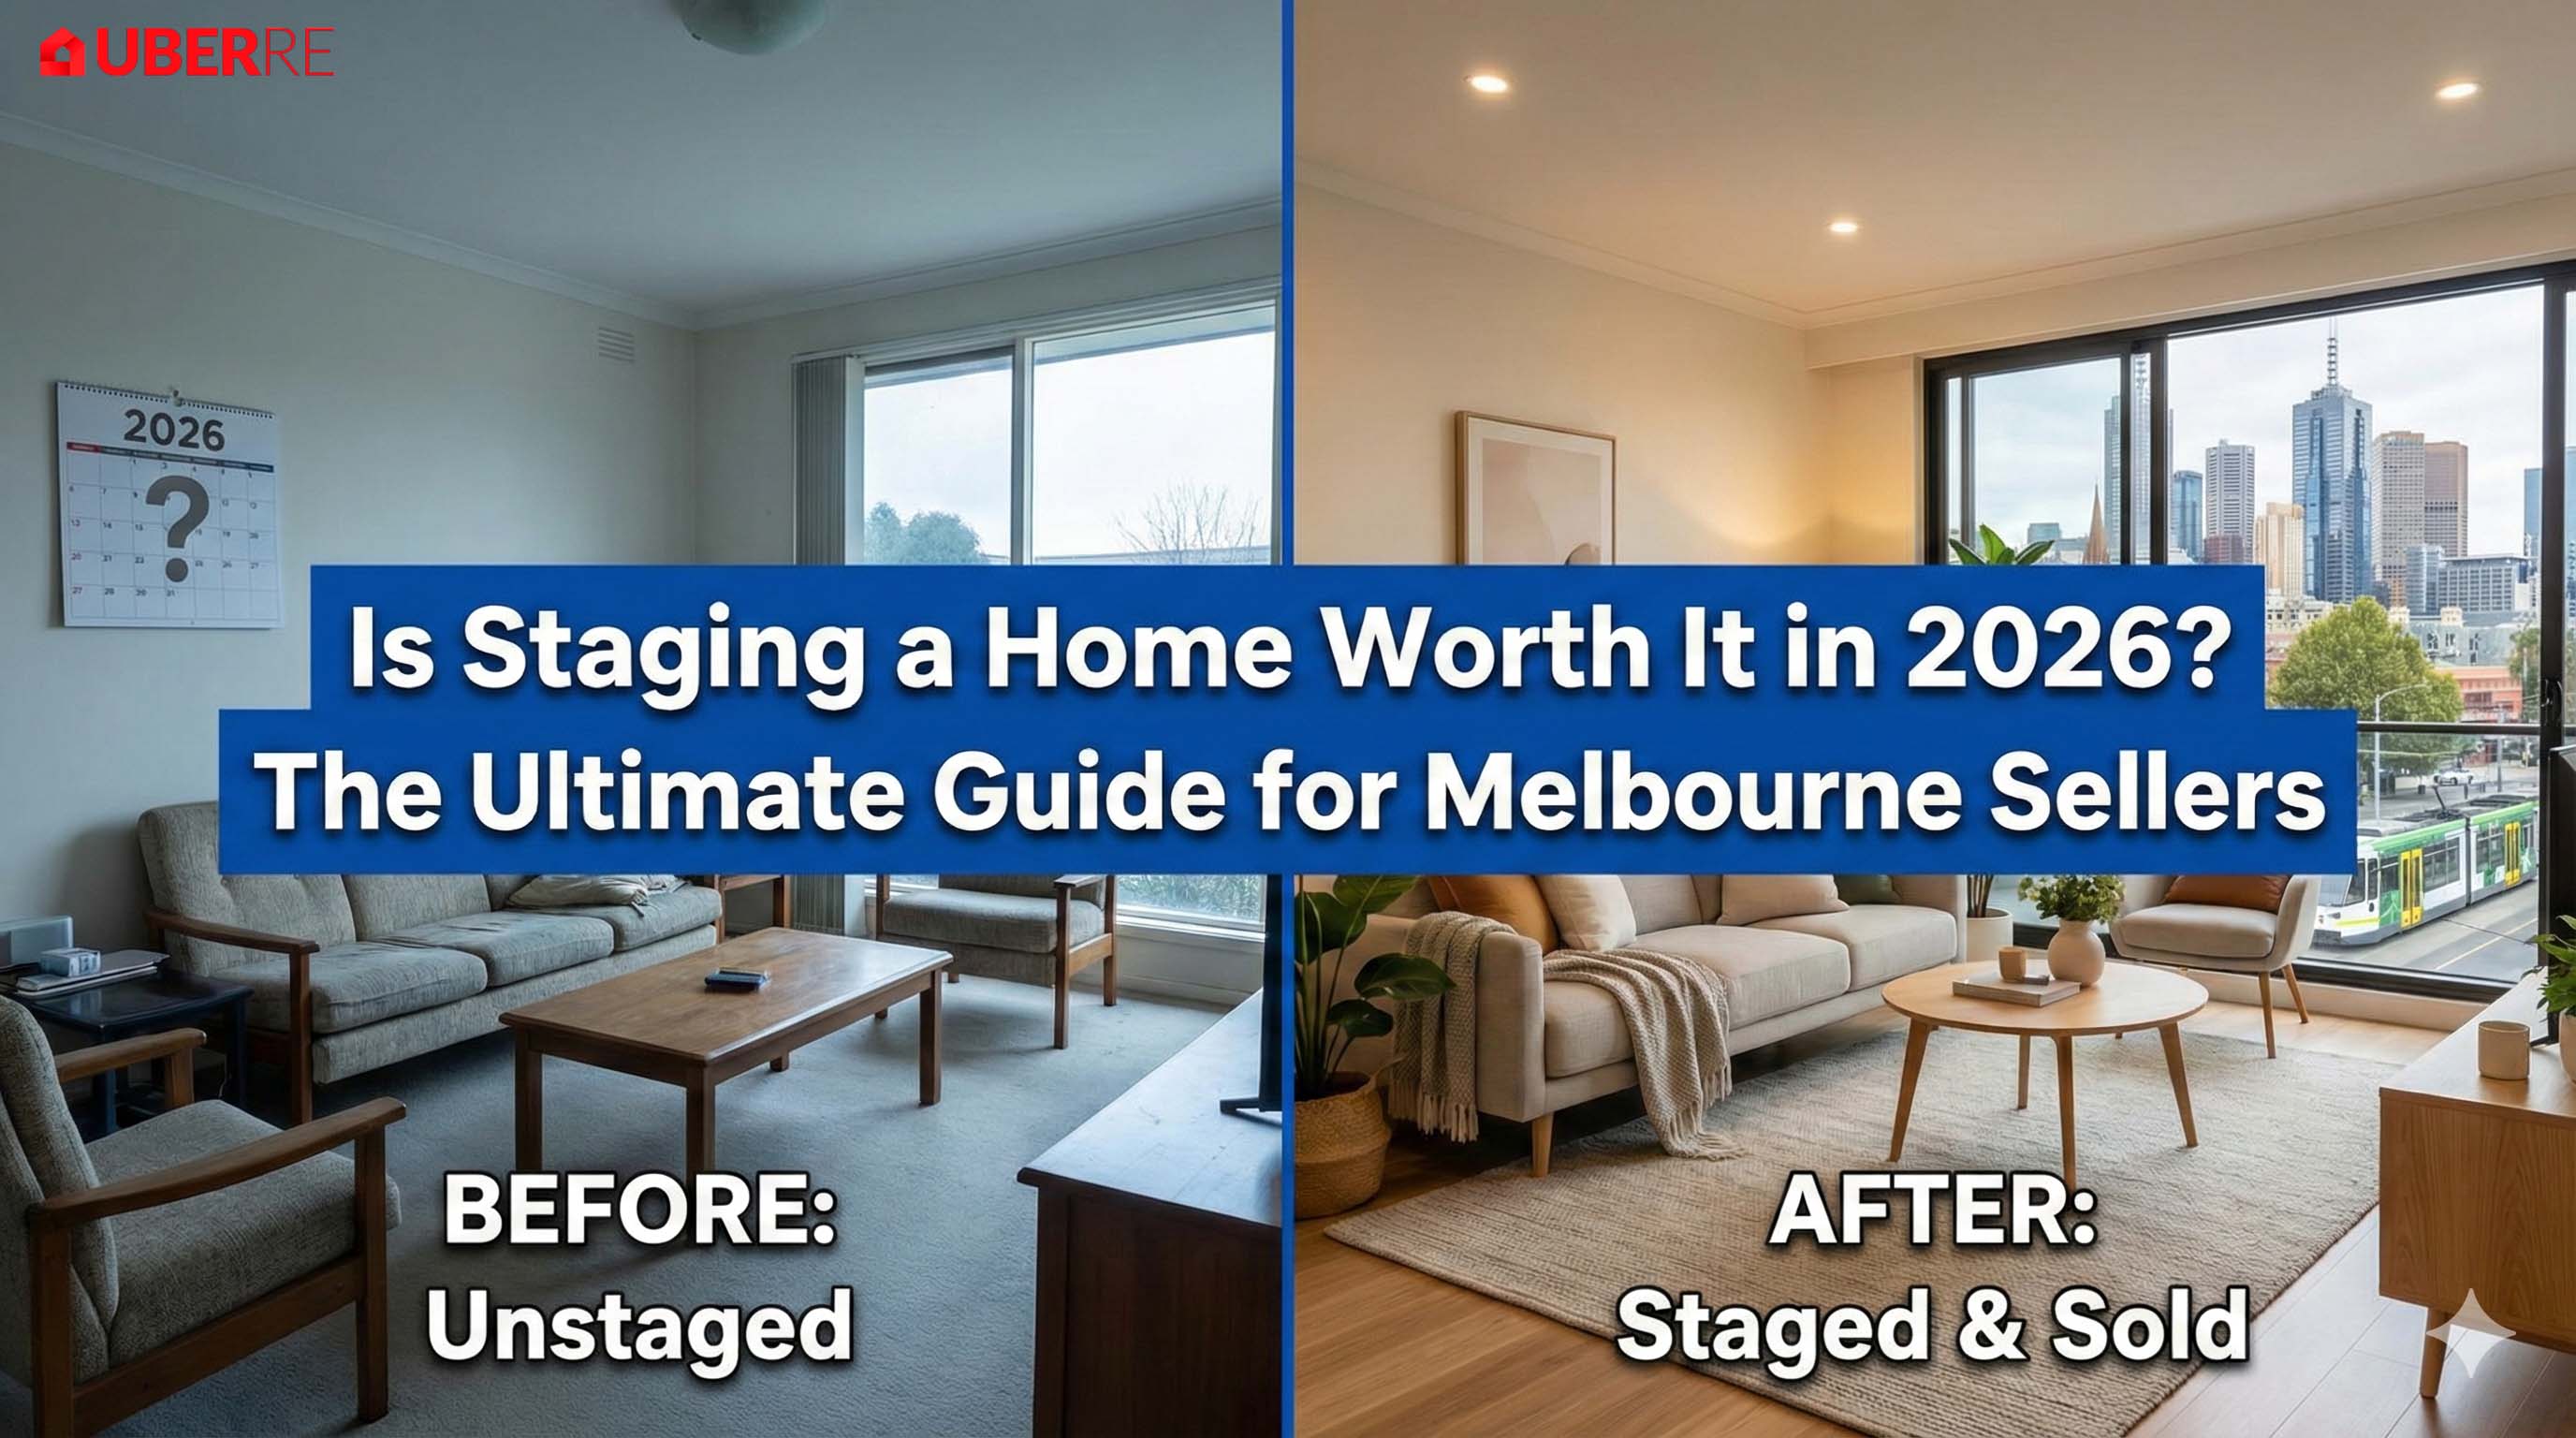
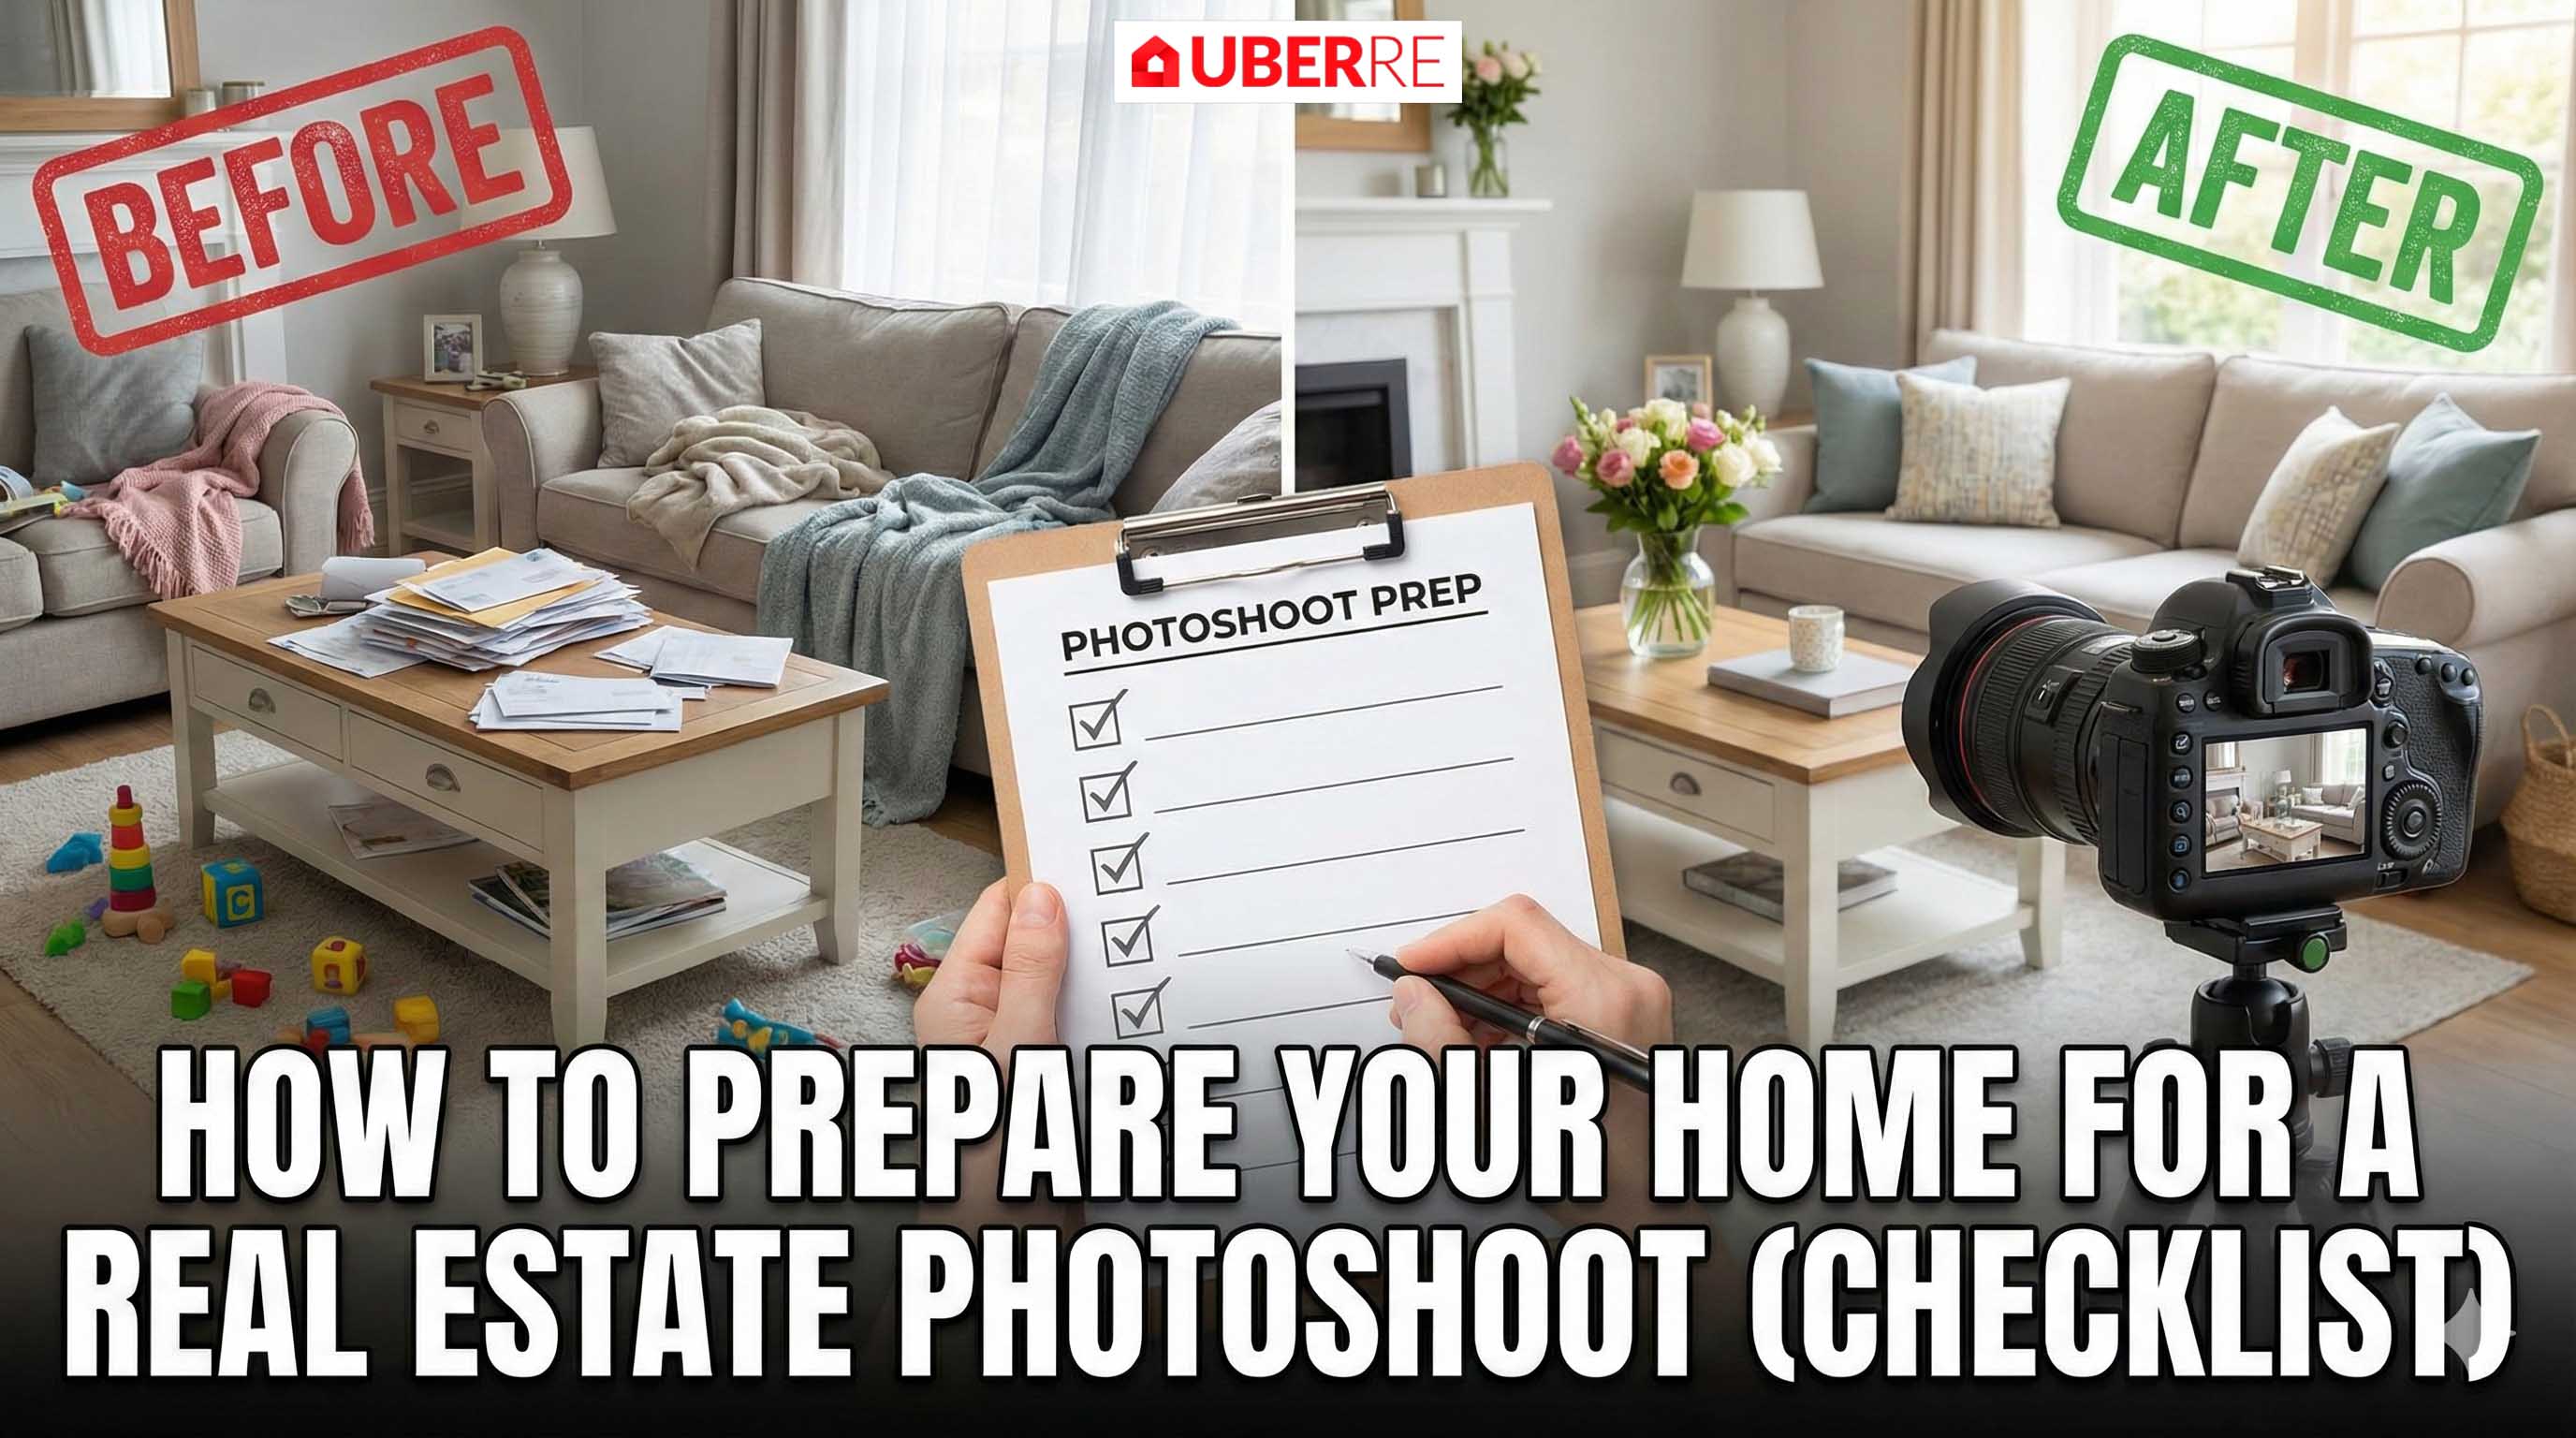
At UberRE, we want your property to look its absolute best. We’ve compiled the ultimate checklist, incorporating "pro tips" used by the industry's best to ensure your home is magazine-ready.
The "Golden Rules" of Preparation
Before focusing on individual rooms, apply these universal rules to the entire property to ensure your real estate photography services deliver maximum ROI.
- The "Sacrifice Room" Strategy: You’ll be moving anyway, so start packing now. Instead of shoving clutter into cupboards (which might be photographed), designate one room or the garage as a "storage zone." Stack all your boxes and unsightly items there. It’s better to sacrifice one room from the shoot than to have clutter visible in every other shot.
- Light It Up (Consistently): Open all blinds and turn on every single light. Pro Tip: Check your light globes! Ensure they are all working and, critically, that they are the same color temperature. Mixing "warm white" and "cool white" bulbs in the same room creates clashing colours in photos. Warm white generally feels more inviting.
- Digital Declutter: Turn off all TV screens and computer monitors. A big black rectangle is distracting, but a flickering screen is worse. Also, ensure ceiling fans are turned off so they look crisp, not blurry.
Room-by-Room Checklist
1. The Kitchen: The Heart of the Sale
The kitchen is often the most scrutinized room in real estate photography Melbourne listings.
- Clear the Bench: Go beyond just tidying. If your kettle or toaster looks a bit "tired," hide it in a cupboard. Leave only 1–2 premium appliances out.
- Add Life: A bowl of fresh citrus fruit adds a pop of colour that photographs beautifully.
- The Fridge: It’s not a noticeboard. Remove all magnets, calendars, and flyers. Don't forget the top of the fridge—it’s a common dumping ground that the camera will see.
- The Sink: Remove dish racks, sponges, and tea towels completely.
2. The Living & Dining Areas
- Create Space: If you have small area rugs that chop up the floor space, consider removing them. exposing the floorboards often makes the room feel larger.
- Tech Hygiene: Hide all remote controls and power boards.
- Cables: Nothing ruins a shot faster than a tangle of wires. Tuck them behind furniture or tape them down.
3. Bedrooms
- Hospital Corners: Bedding must be immaculate. Tuck sheets in tightly ("hospital corners") and smooth out comforters. If your linen is wrinkled, give it a quick iron—the camera lens magnifies creases.
- Bedside Tables: Clear everything except a lamp and perhaps one book. Remove tissues, alarm clocks, and charging cables.
- Under the Bed: Ensure nothing is peeking out. If you have storage tubs under there, push them deep into the centre.
4. Bathrooms
- The "Zero Tolerance" Rule: Remove everything. That means no shampoo bottles, no razors, and no toothbrushes. Some pros even recommend removing the toilet paper roll to keep lines clean.
- Glass & Mirrors: Scrub shower screens to remove soap scum and water spots. A sparkling screen is invisible; a dirty one looks like hard work for the buyer.
- Toilet Lids: Always down. No exceptions.
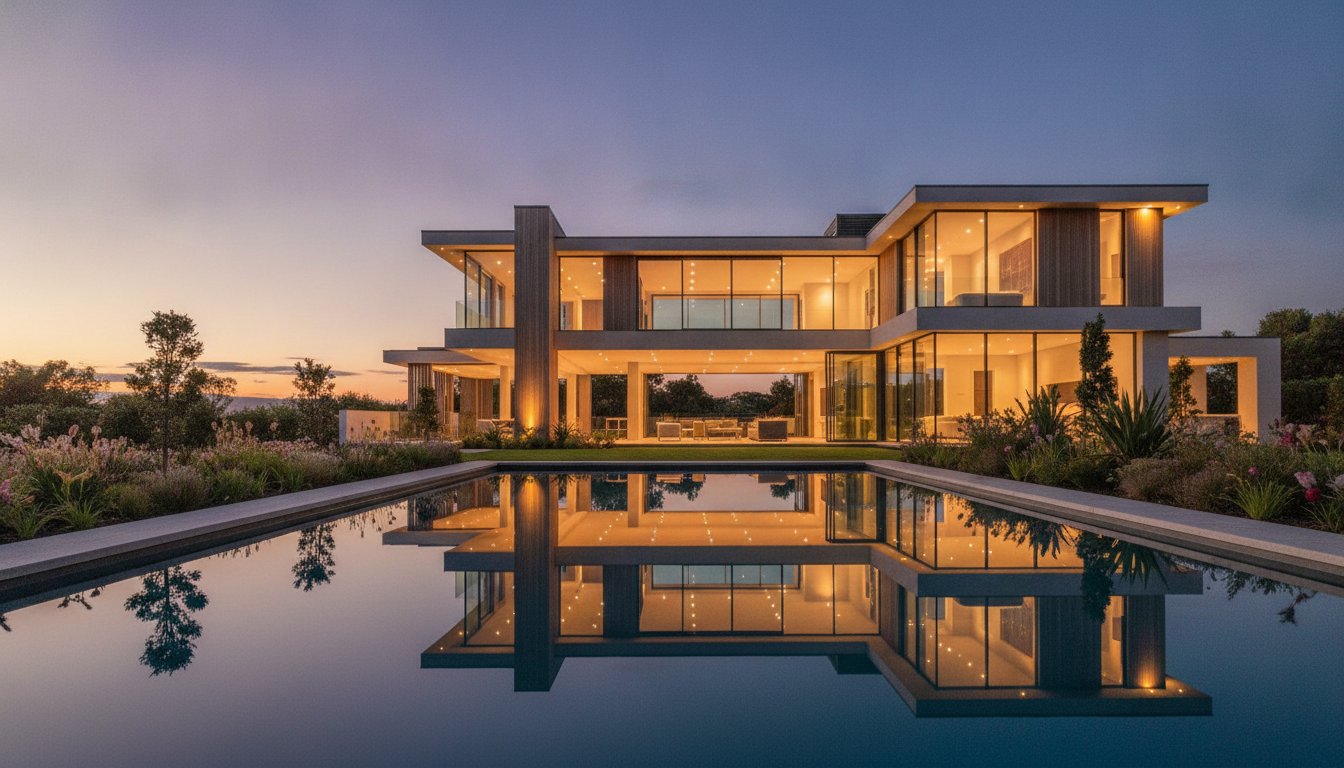
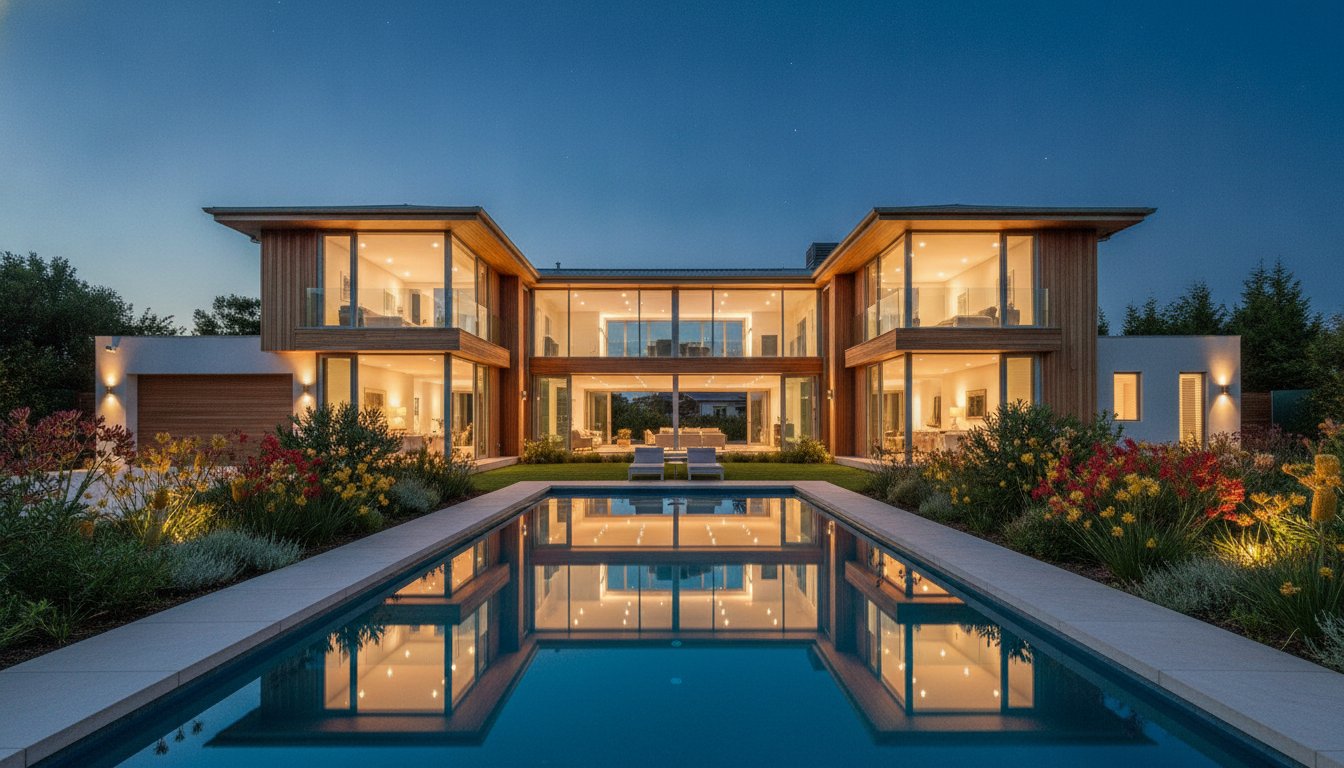
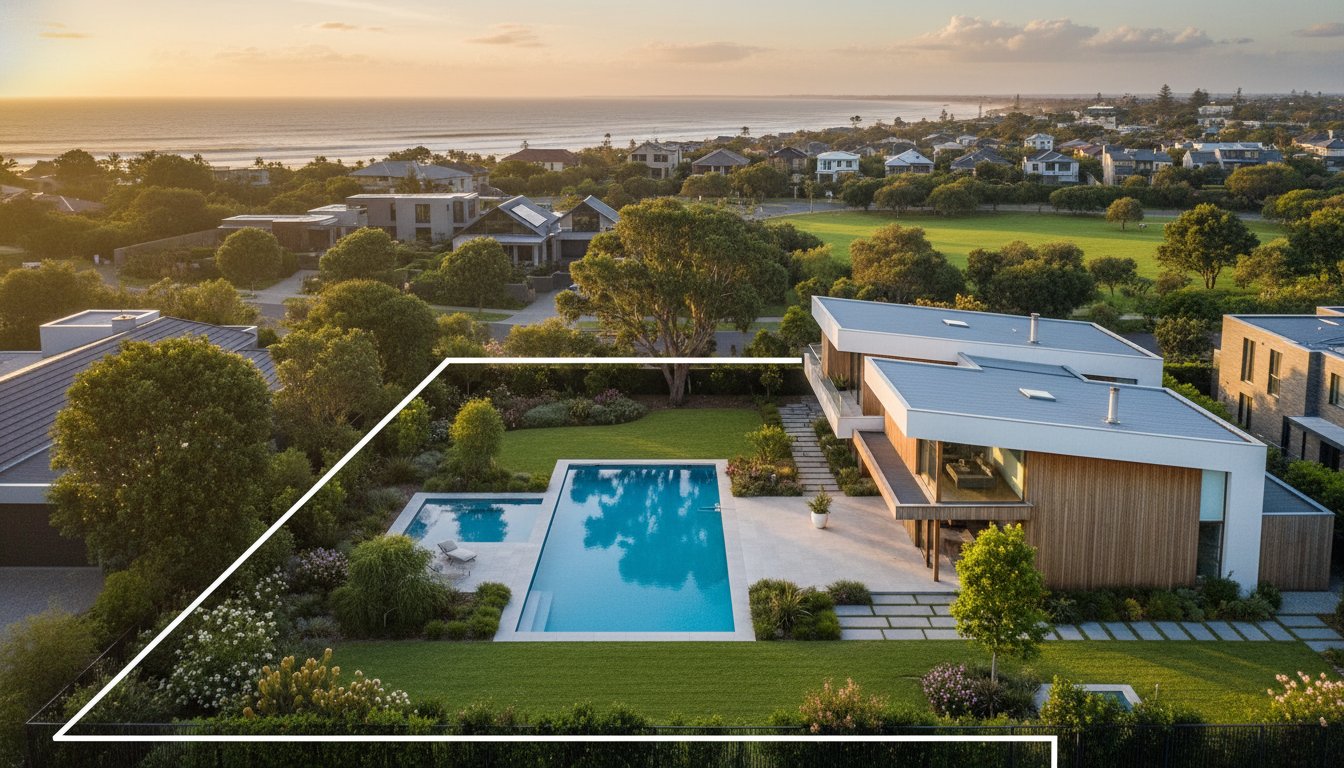
5. Exterior & Curb Appeal
- Vehicles: Move all cars out of the driveway and away from the front of the house.
- The Pool: If you have a pool, it must be sparkling. Critically, remove the "creepy crawly" cleaner from the water and hide it.
- Lifestyle Touches: A bottle of wine and two glasses on the outdoor table might feel like a cliché, but it effectively sells the "lifestyle" of the space.
- Bins: Wheelie bins must be completely out of sight—in the garage or down the side alley.
Is It Worth the Investment? Understanding Real Estate Photography Pricing
Vendors often ask about real estate photography Melbourne price and whether premium packages are necessary.
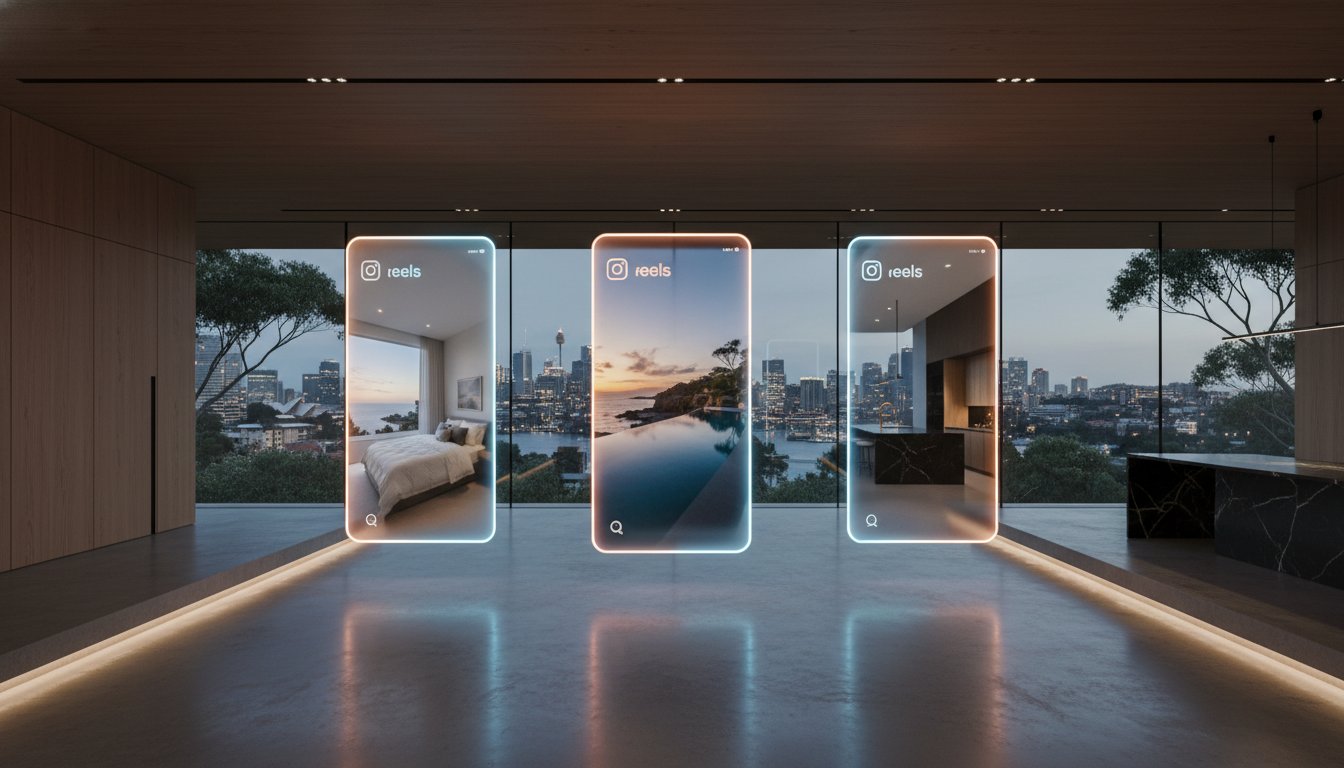
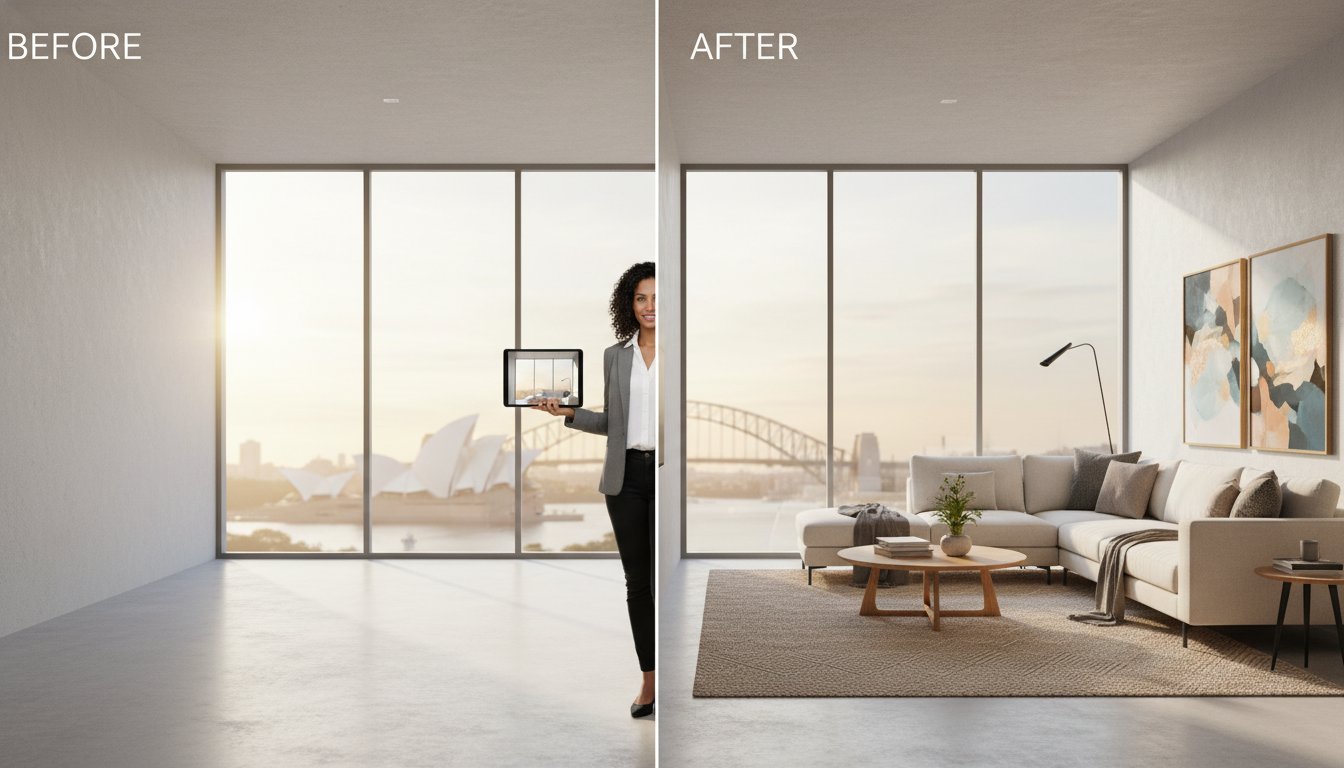
The reality is that professional photography is an investment, not a cost. Listings with high-quality, professional images get significantly more clicks on portals like https://www.google.com/search?q=Realestate.com.au and Domain. When comparing real estate photography pricing, look for value-adds. Does the price include professional retouching? Blue-sky replacement?
Cheap photography often results in dark, distorted images that can devalue your home's perceived worth. At UberRE, our real estate photography packages are designed to offer transparent, competitive pricing without compromising on the high-end editorial look that attracts buyers.
Choosing the Right Package
Different homes have different needs.
- Standard Packages: Great for smaller apartments or rentals.
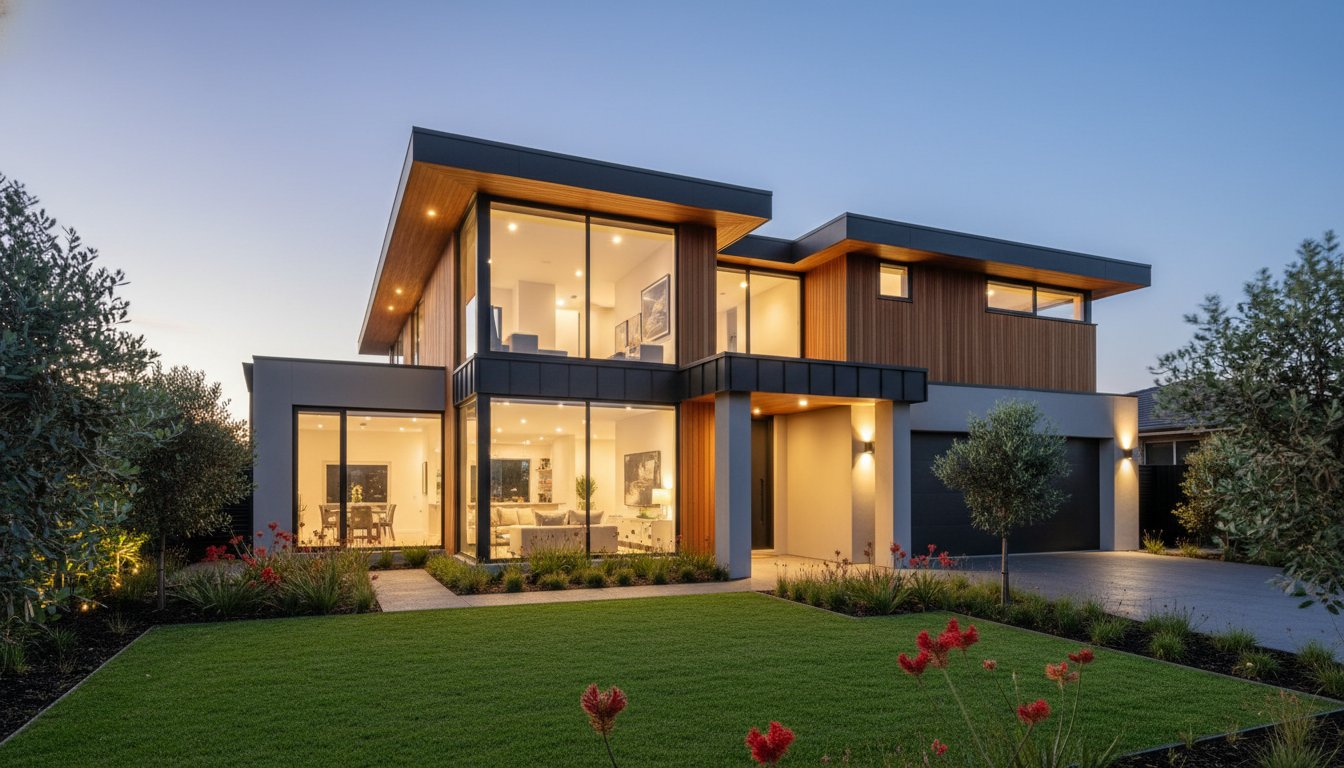
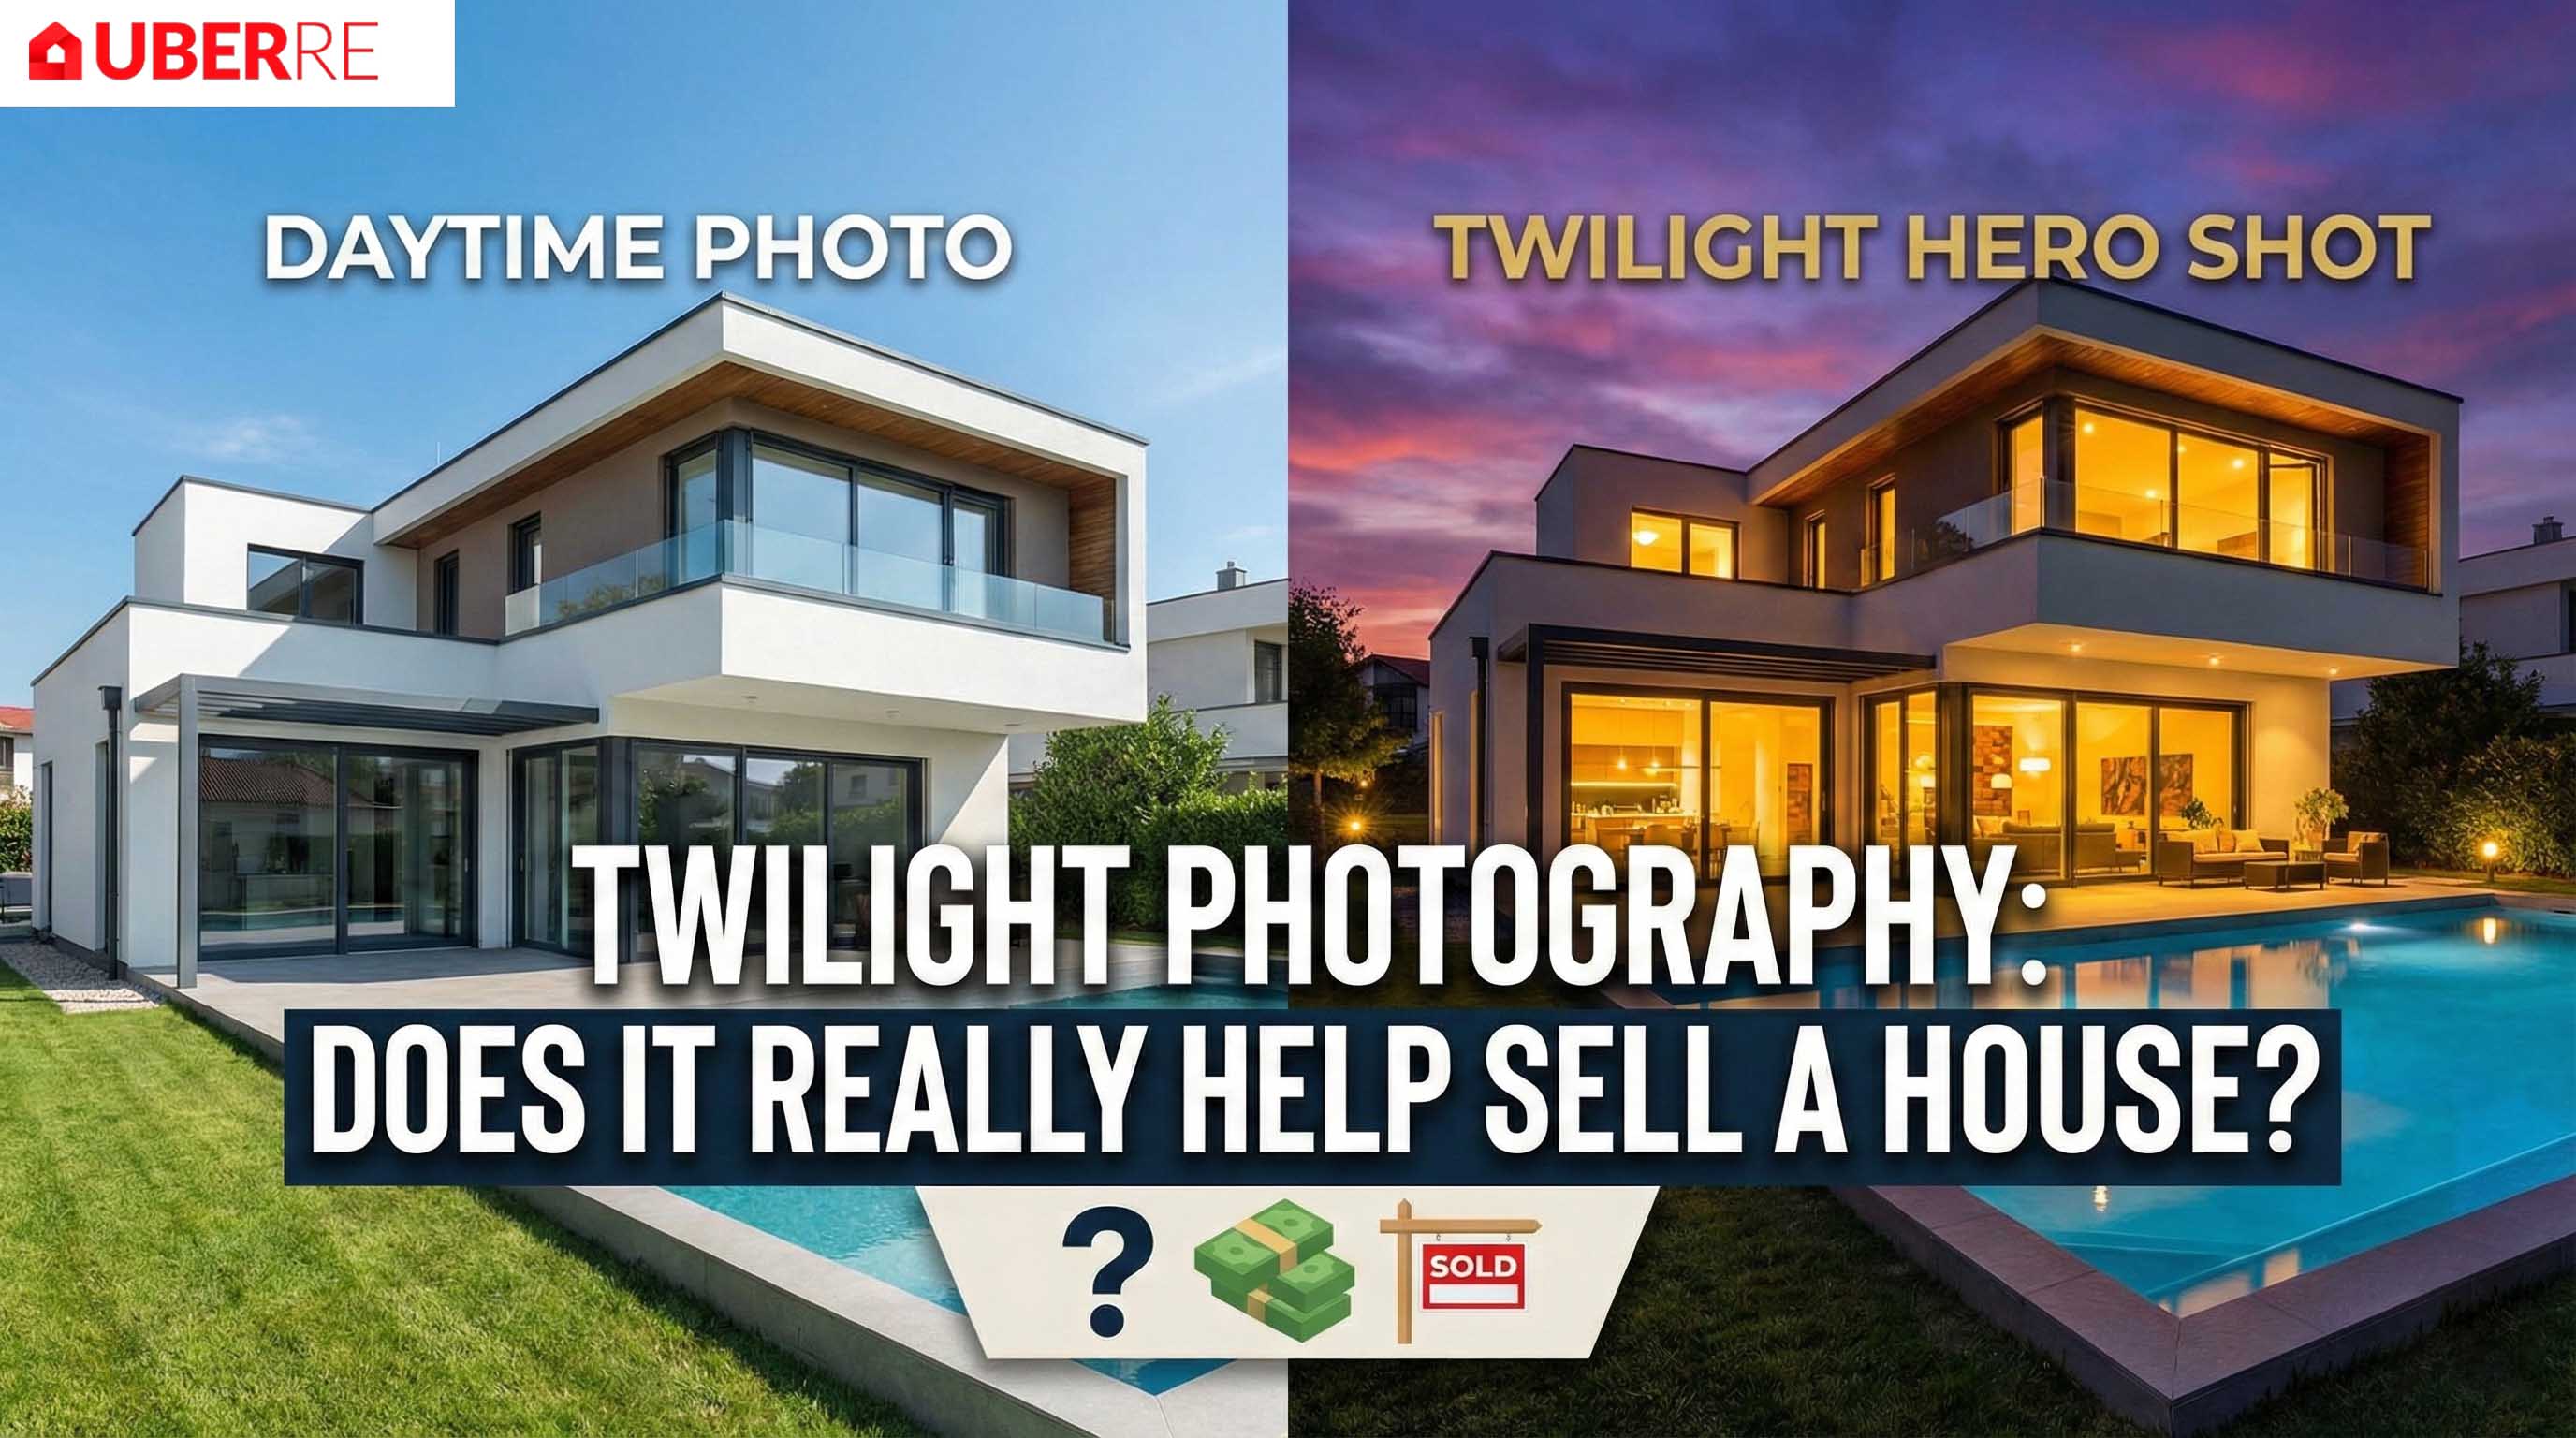
- Premium Packages: Essential for family homes, often including twilight shoots which use warm lighting to create an emotional connection.
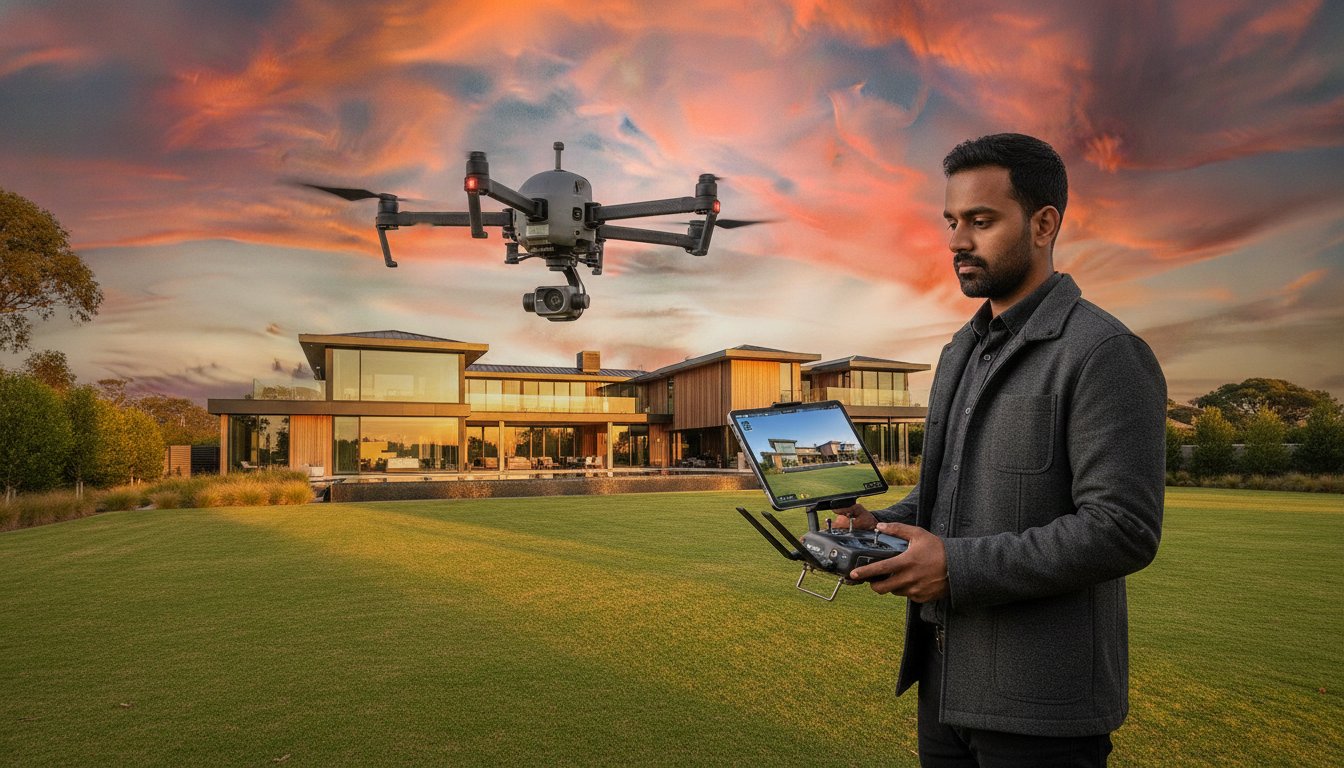
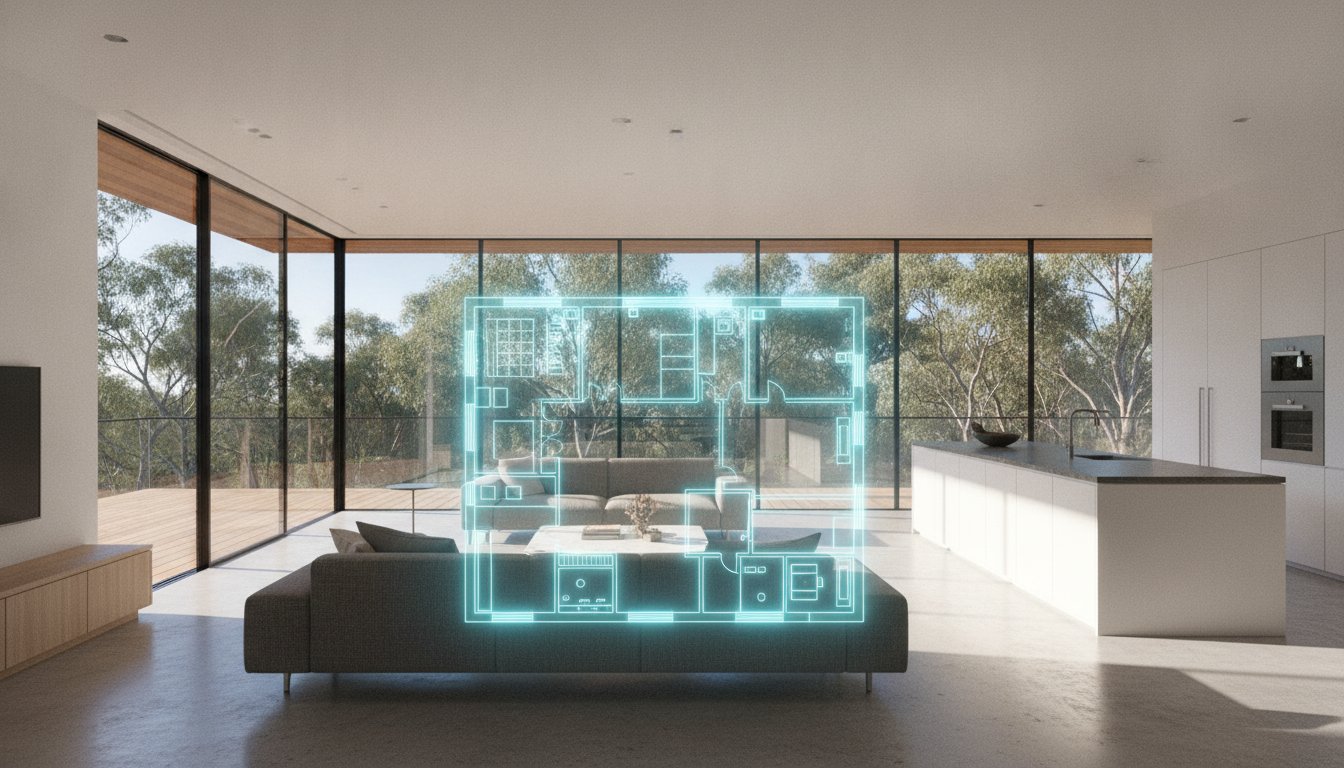
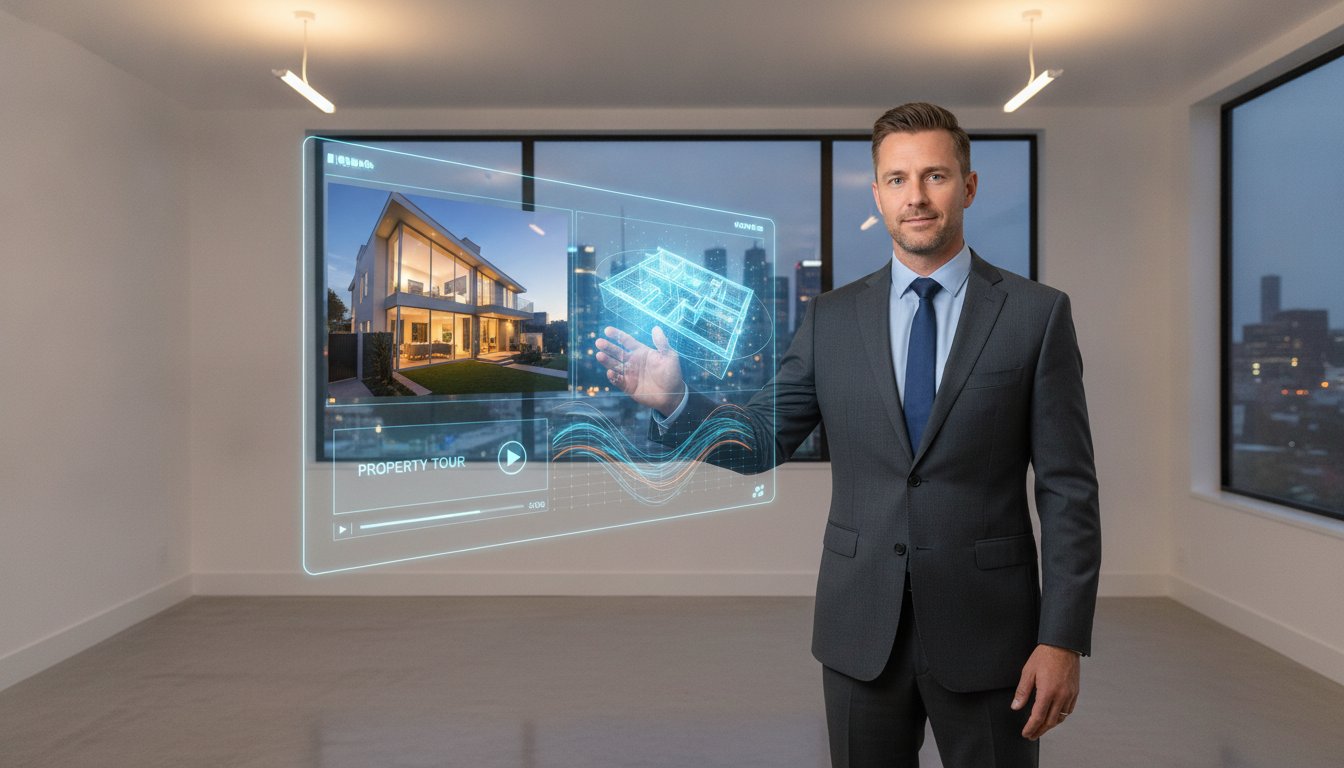
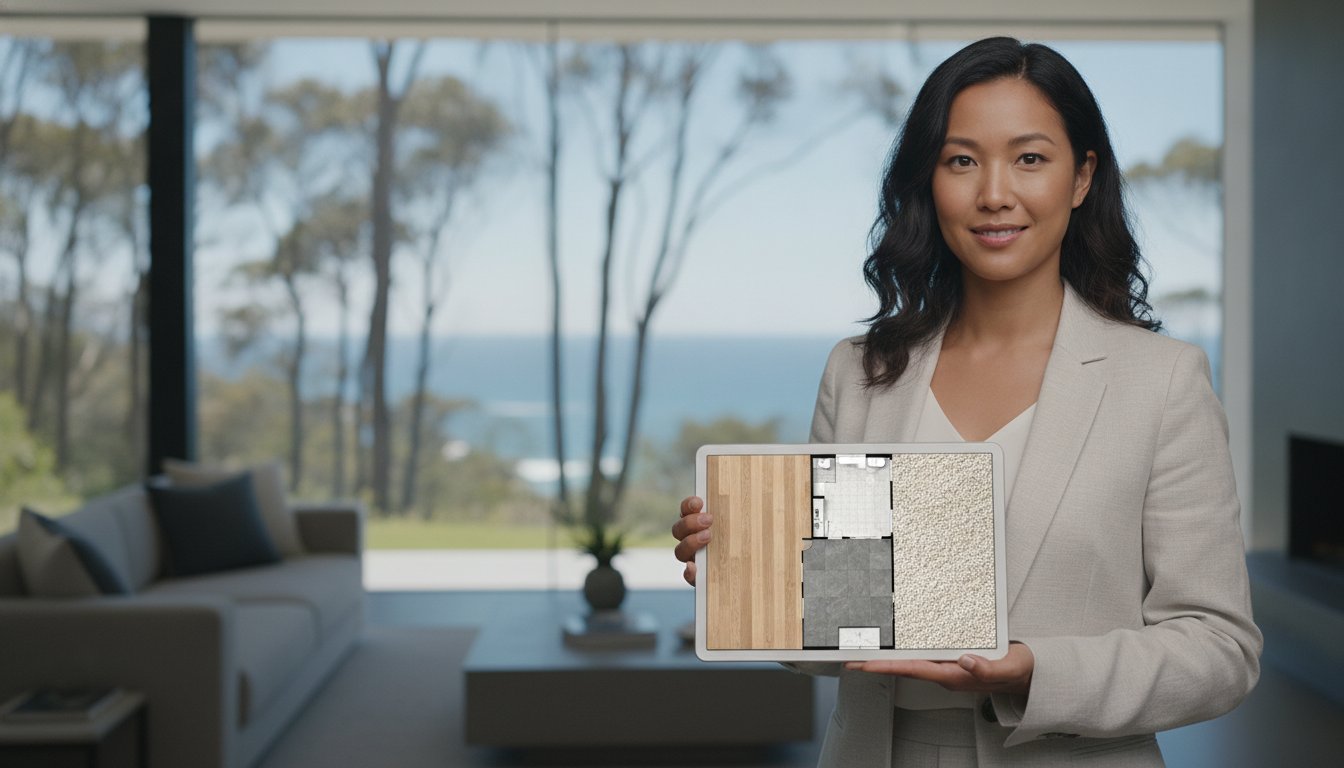
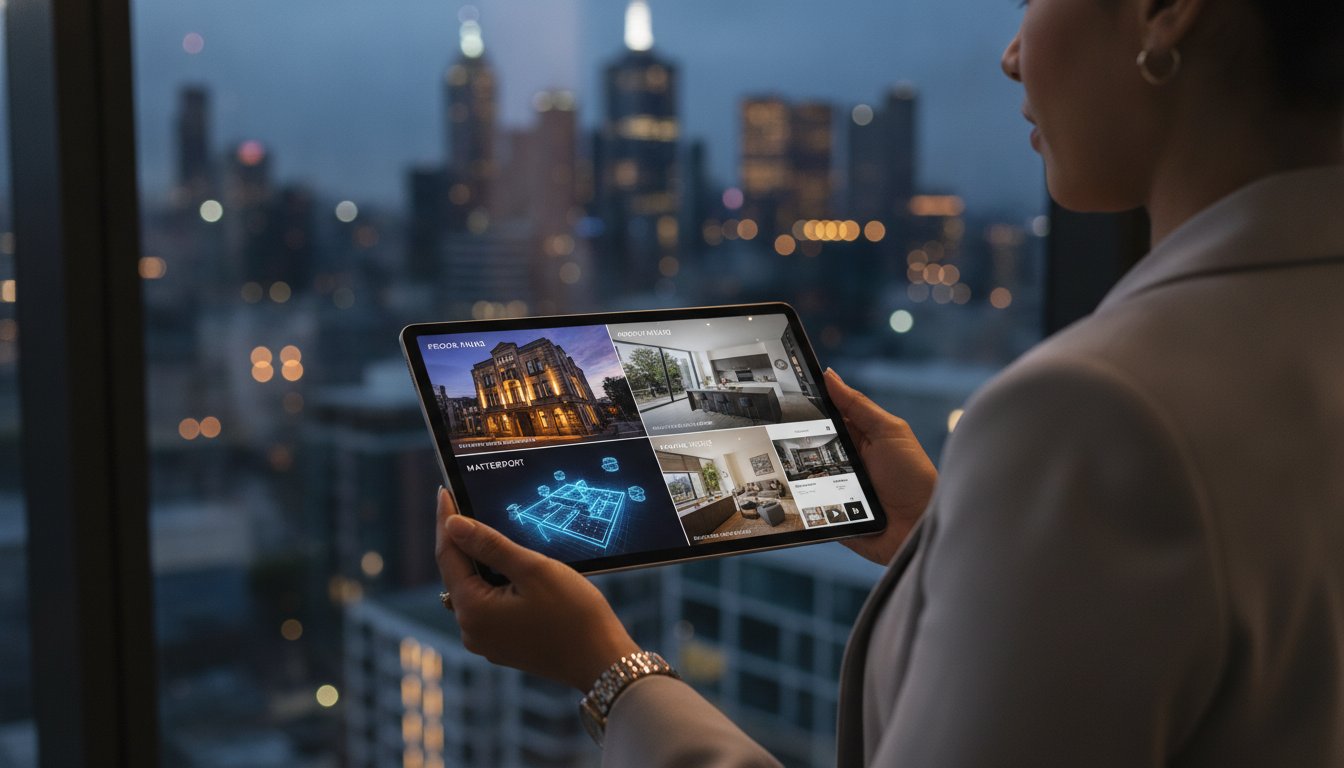
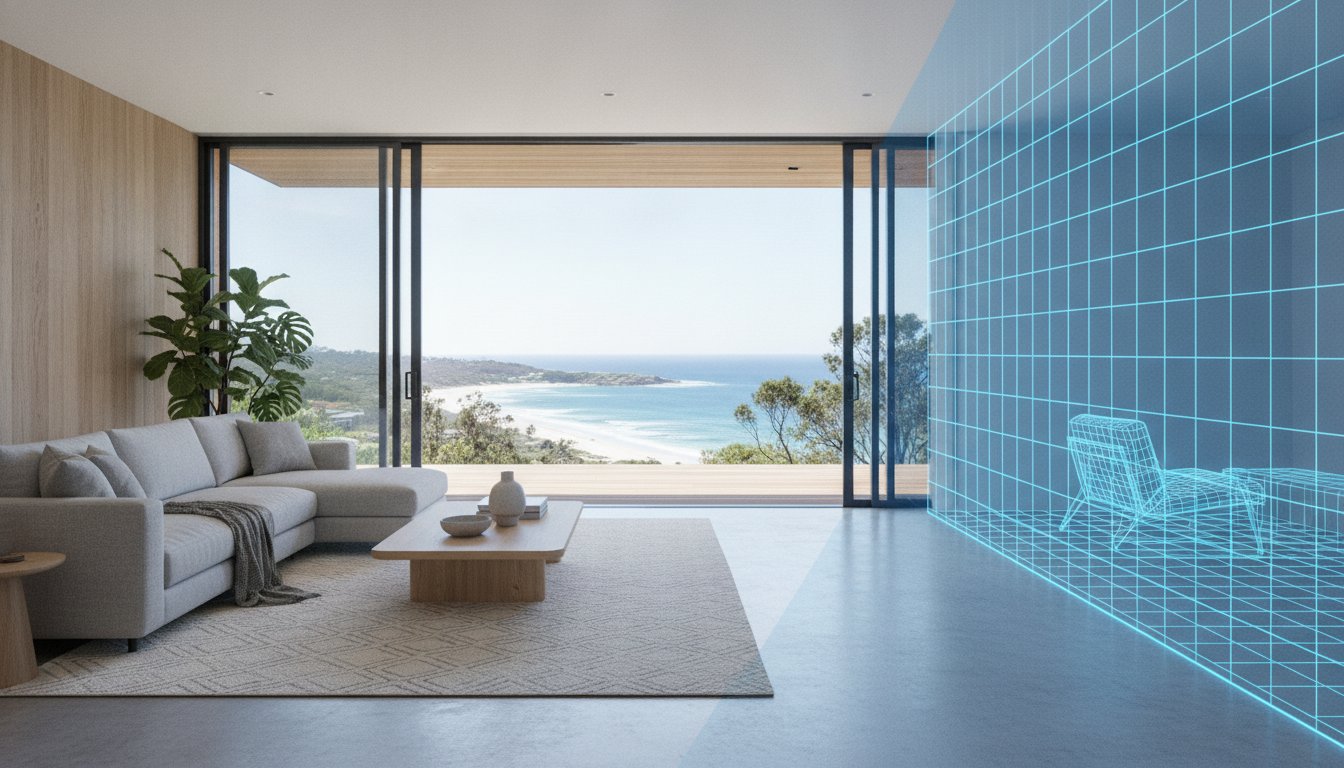
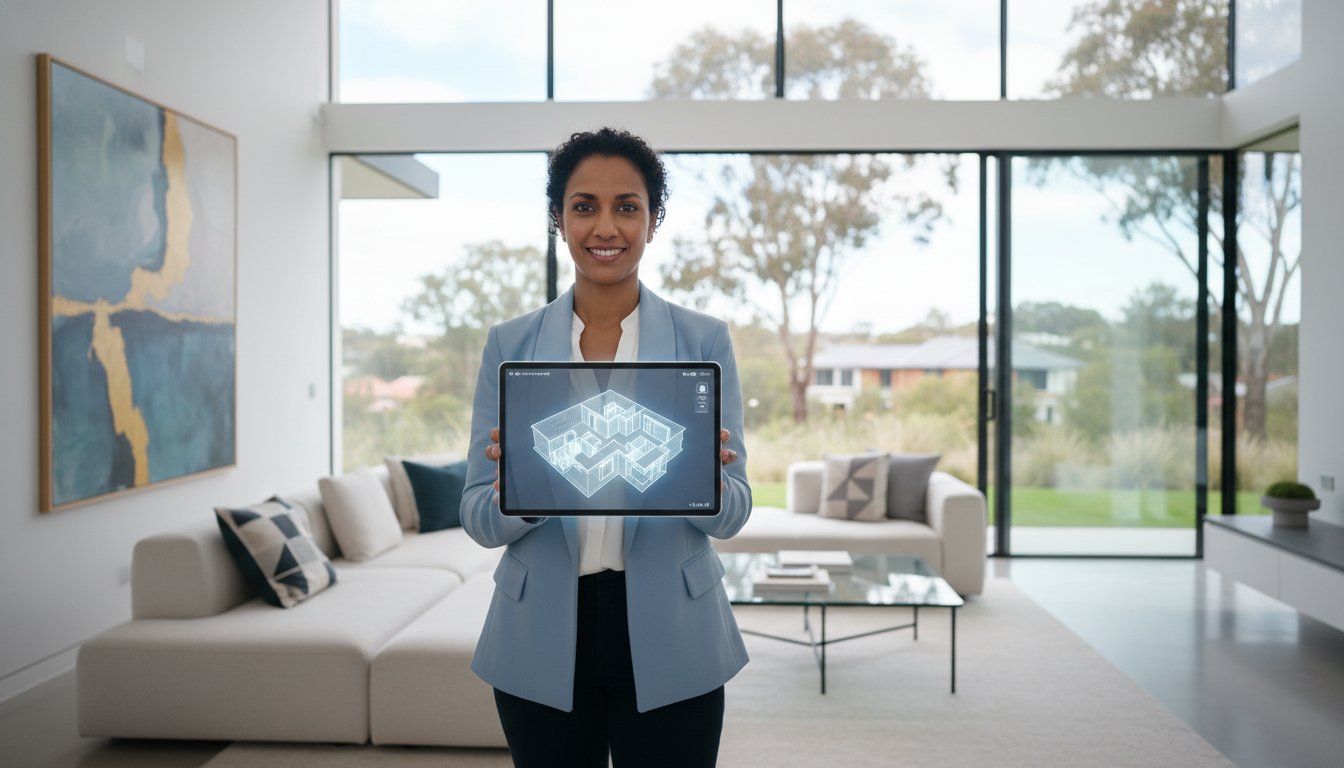
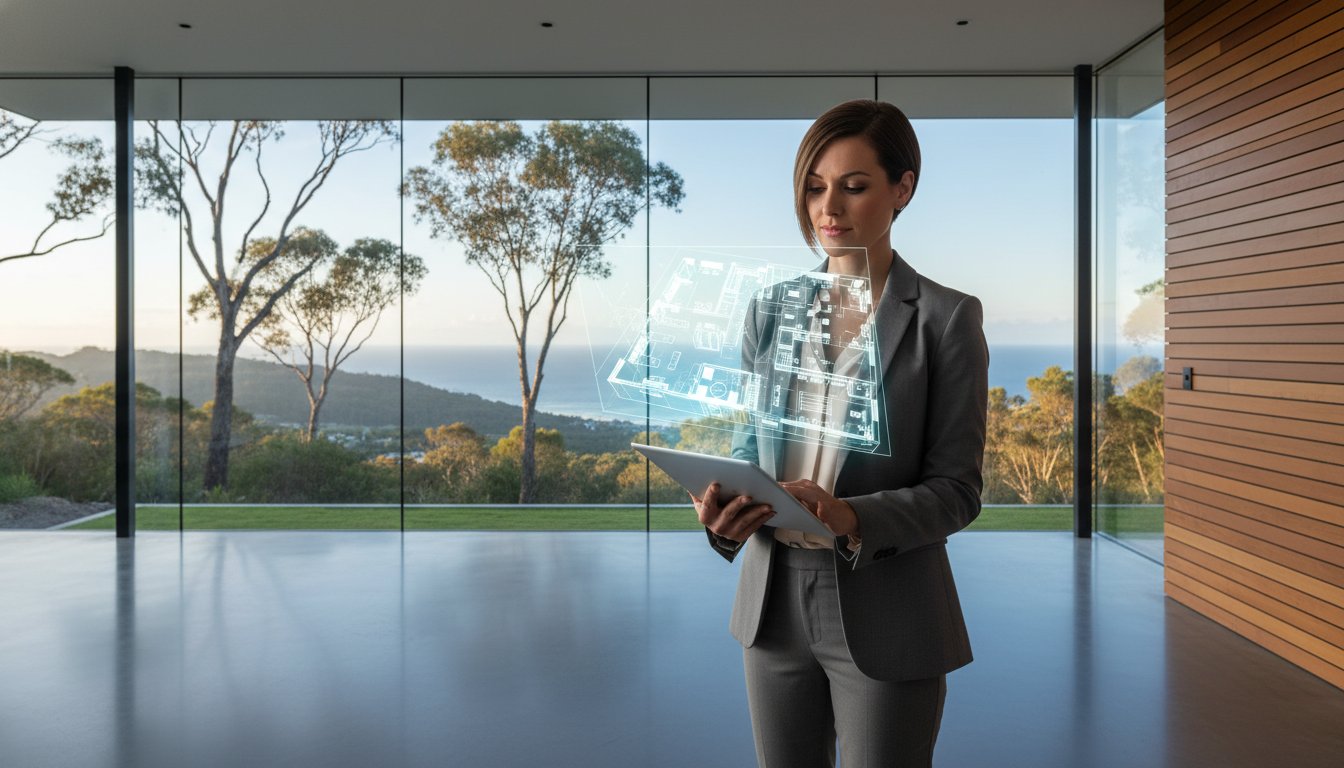
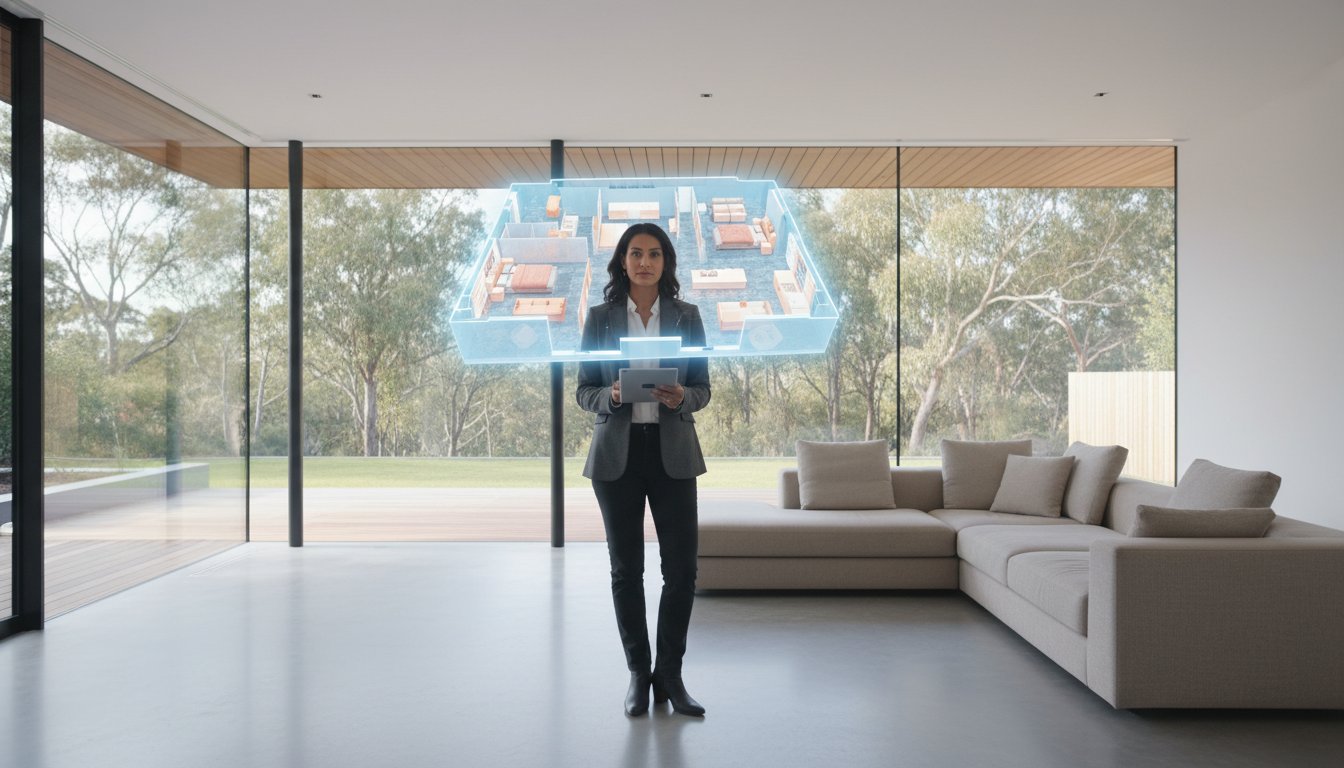
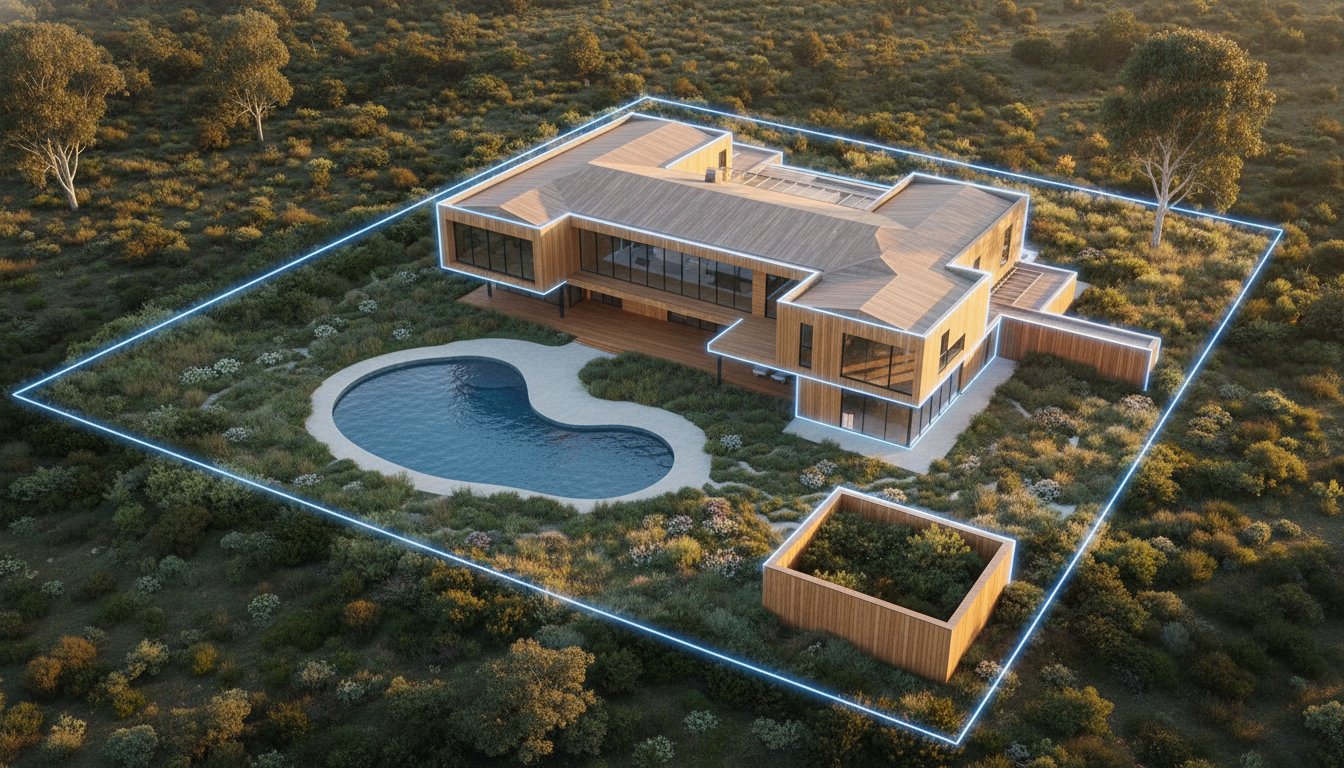
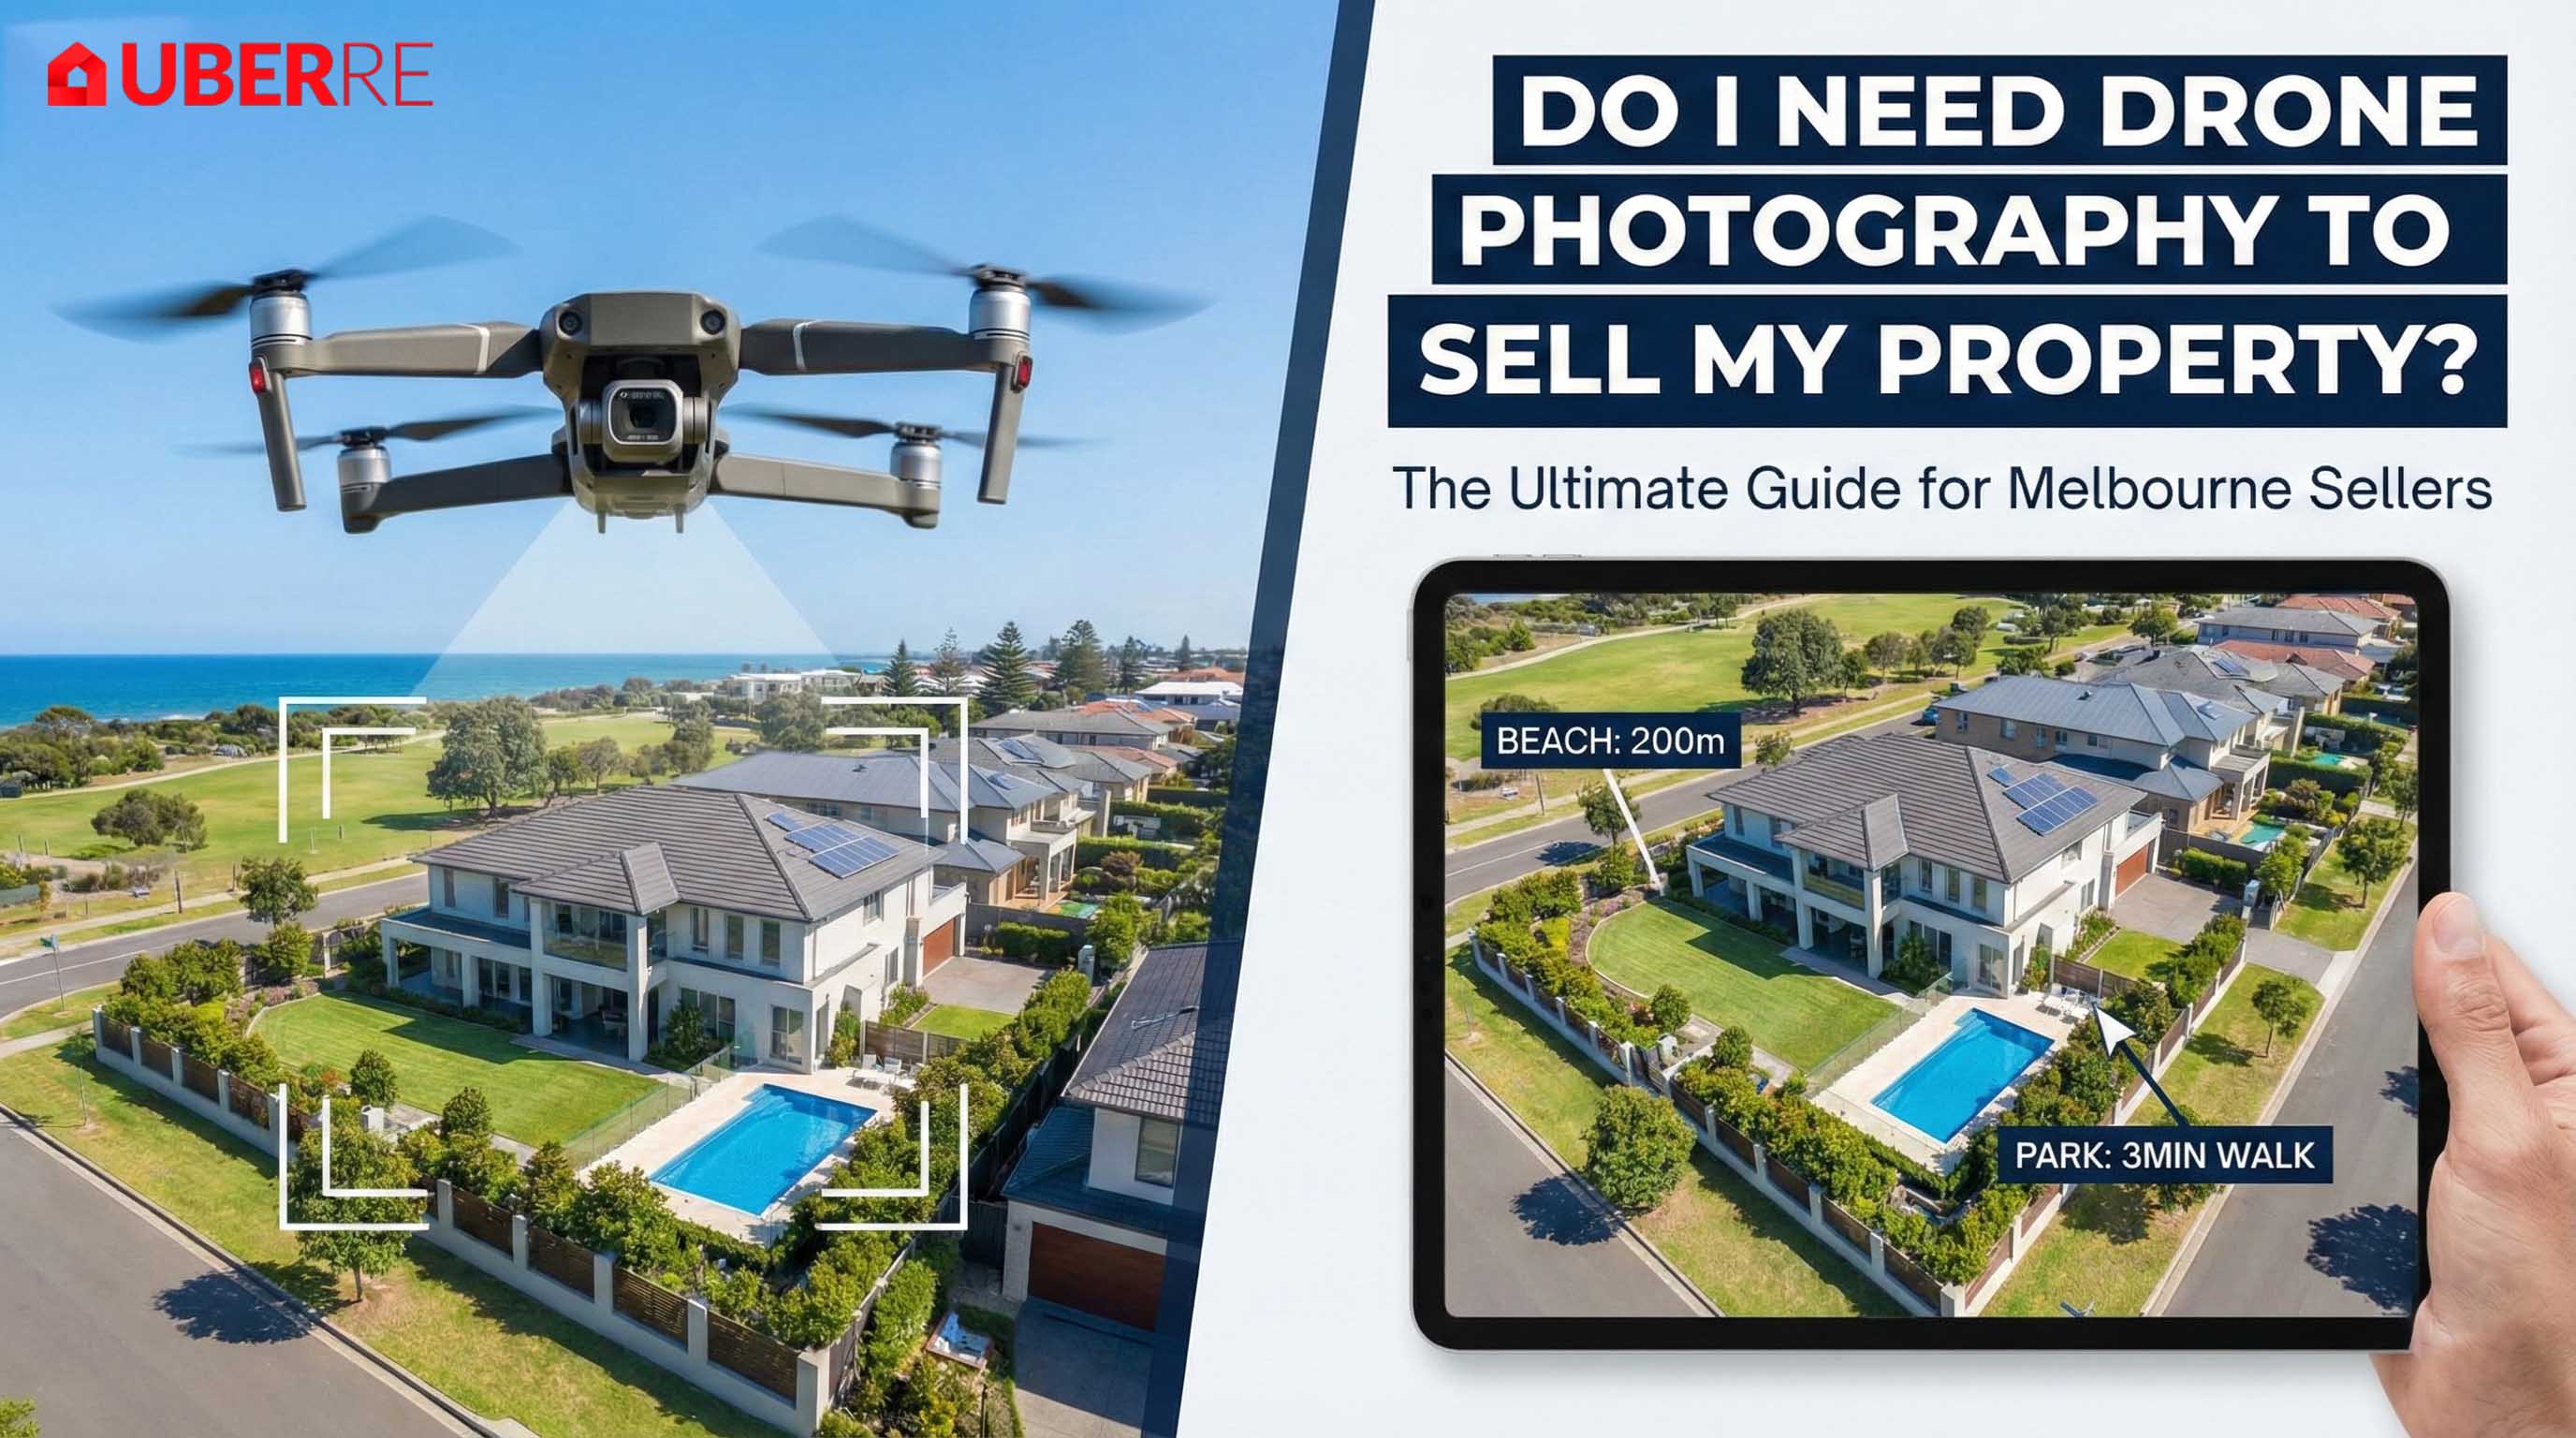
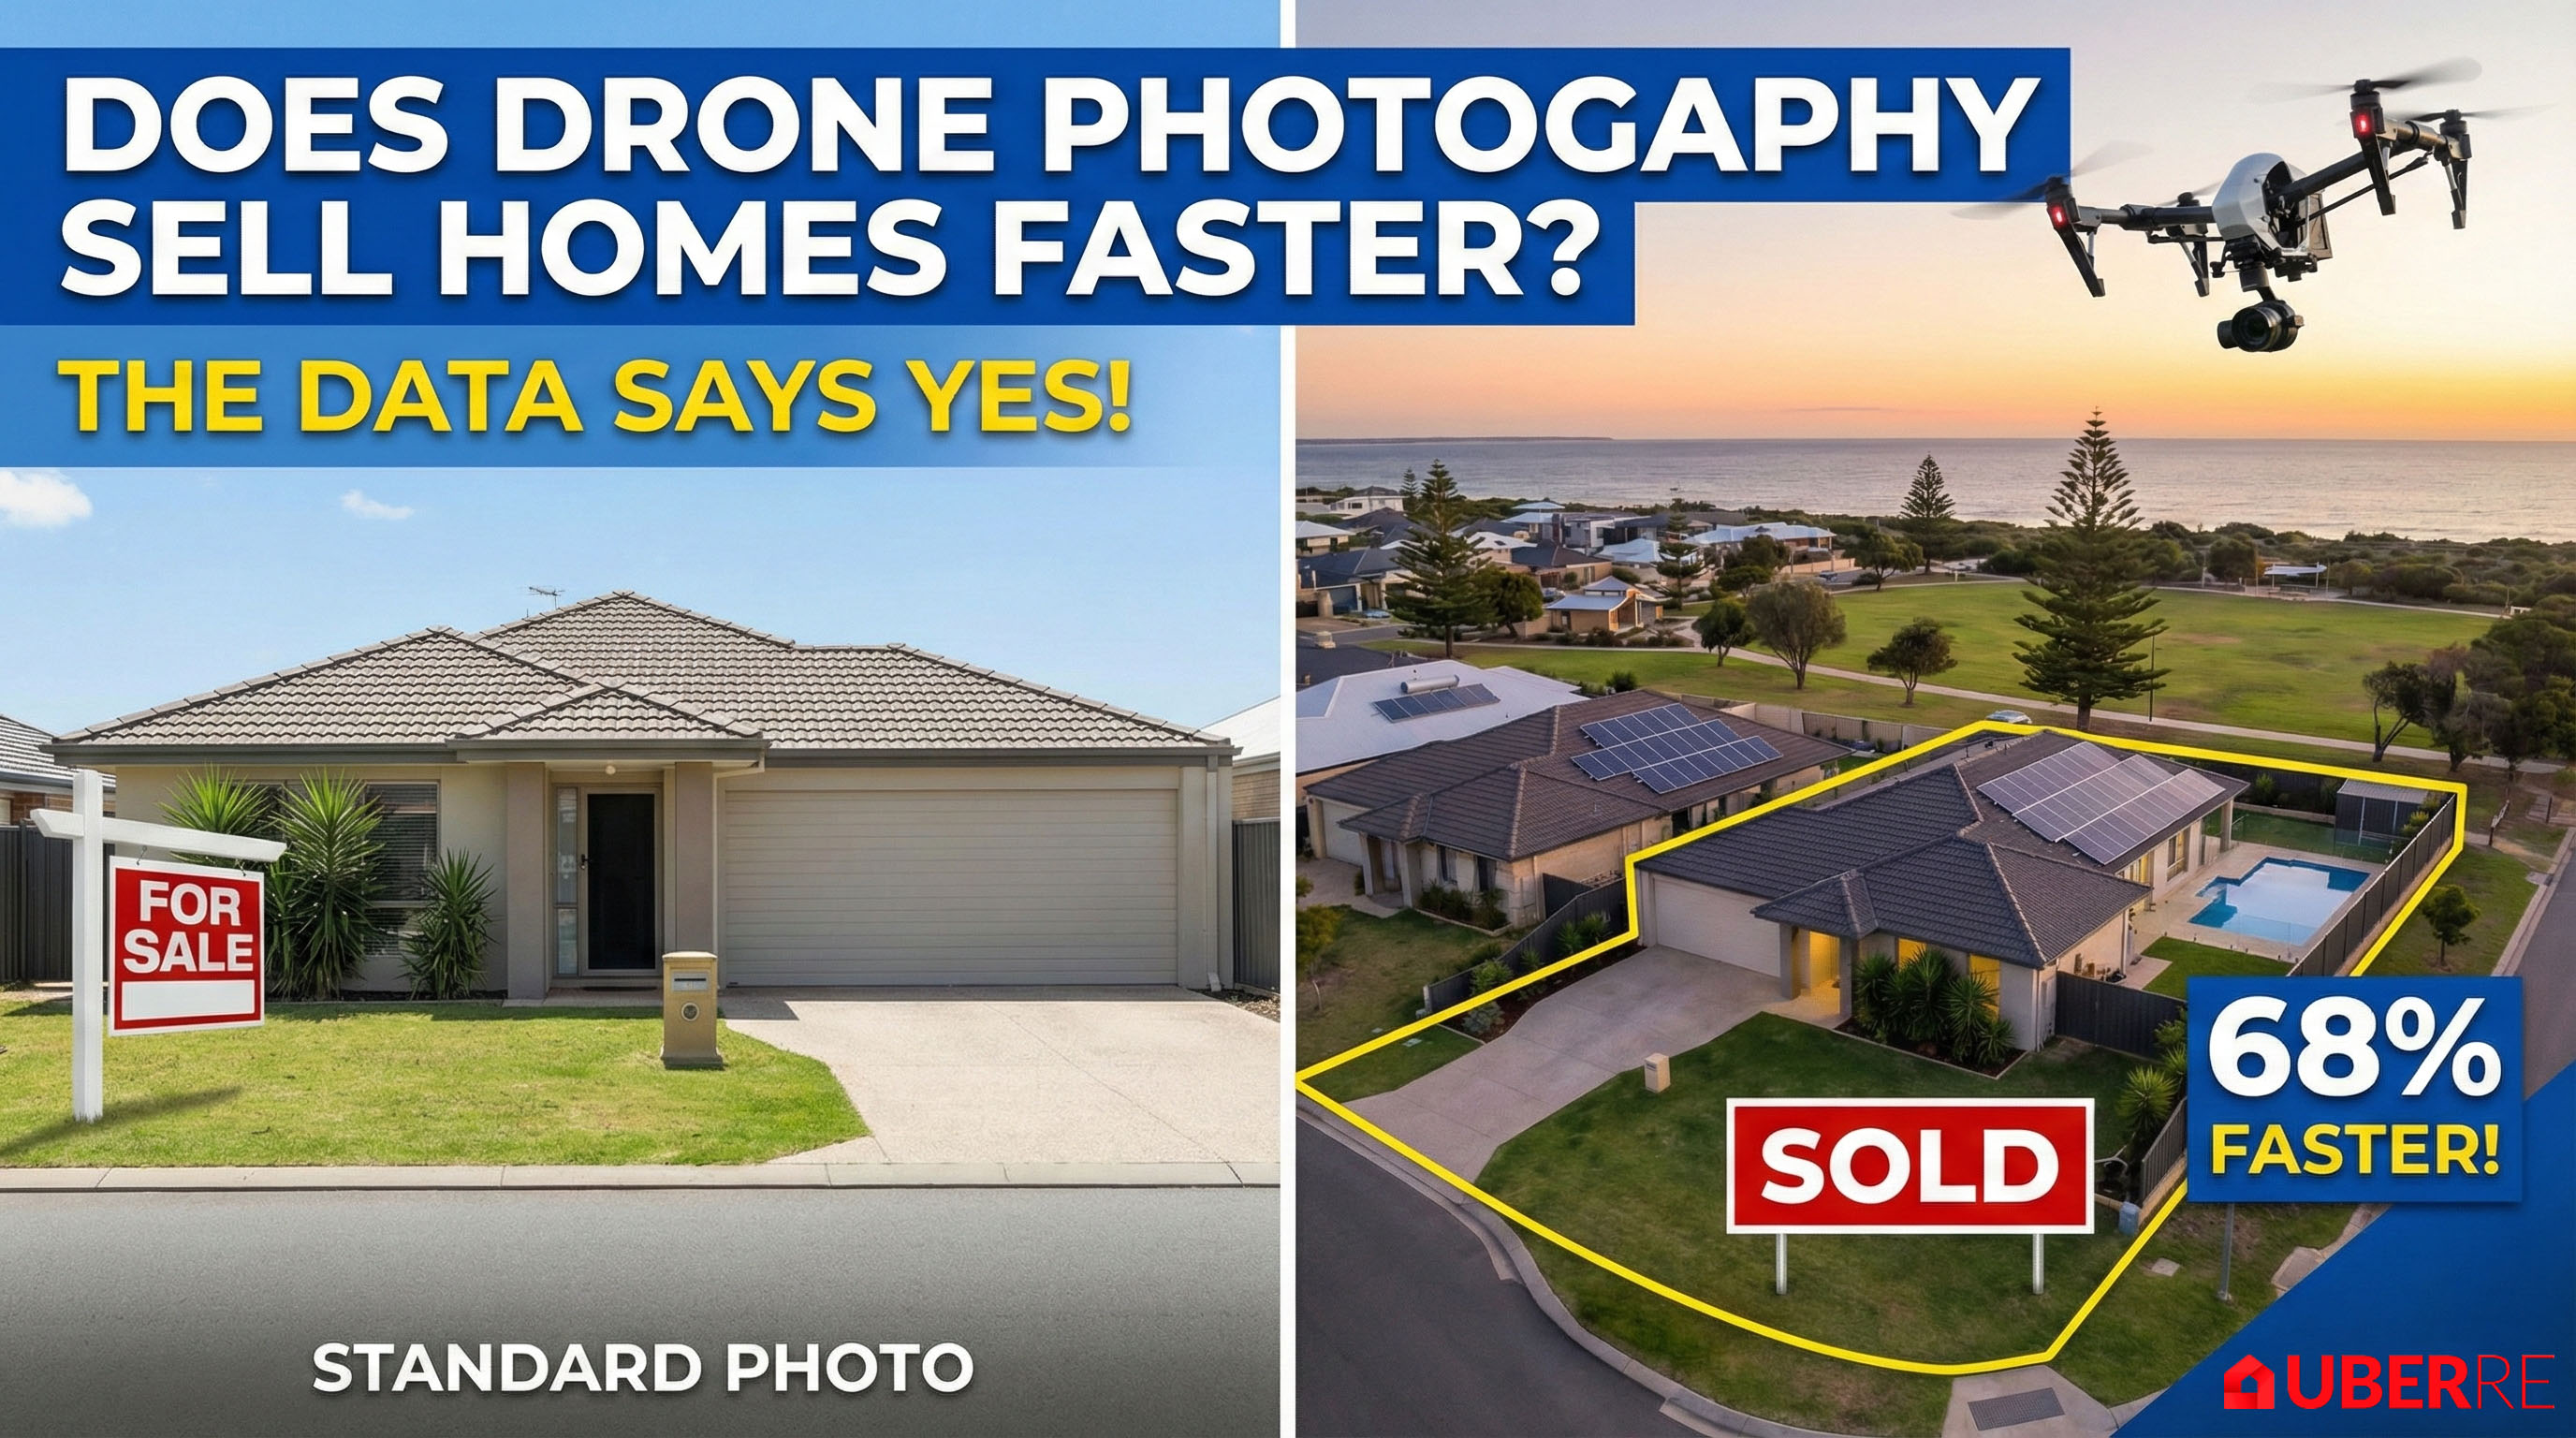
- Add-Ons: Consider aerial drone shots if you’re near a park or beach, or a 3D tour to filter out "tyre kickers" and attract serious buyers.
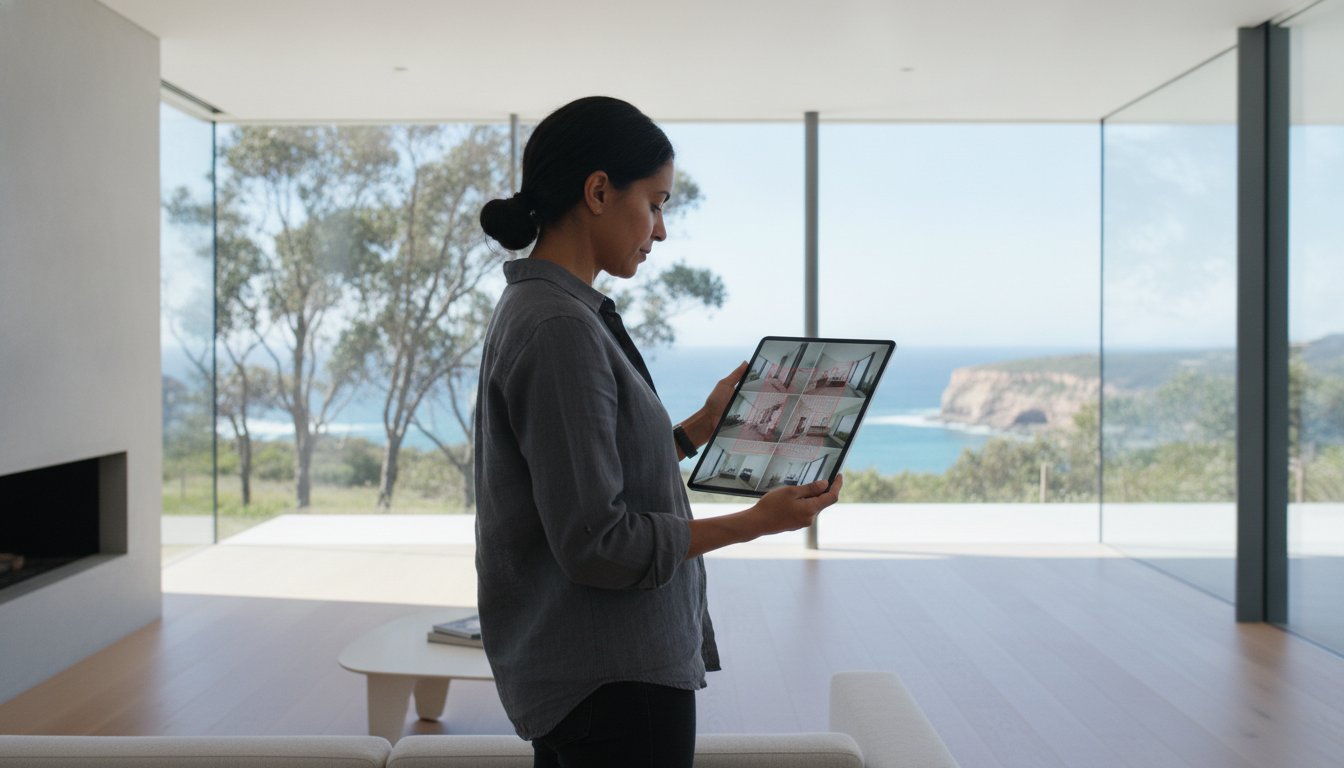
Ready for Your Close-Up?
By following this checklist, you ensure that when our photographer arrives, they can focus entirely on lighting, angles, and composition rather than tidying up. This collaboration is the secret to getting those magazine-quality images that drive record prices.
If you are looking for real estate photography services that combine speed, quality, and market expertise, we are here to help.
.jpeg)


.jpg)


.jpg)
.jpeg)
