What if the exhaustive hours you spent scrubbing and polishing for your property shoot actually devalued your listing? It is a common frustration for vendors who find themselves overwhelmed by cleaning, only to realise their home looks cluttered or dated once it hits the screen. You likely fear that a messy presentation will lead to a cheap online aesthetic or the unnecessary cost of a professional reshoot.
We understand that preparing a property is high-stakes work where every detail impacts your final sale price. This guide outlines exactly what not to do before real estate photos to ensure your home presents as a premium, high-end sanctuary. Research indicates that listings with professional photography can sell for 47% more per square foot; however, achieving that result requires a technical, subtractive mindset rather than just a quick tidy up. This is even more critical in 2026, as buyers increasingly demand authentic, high-quality visual data.
• Remove personal items and family photos to eliminate visual distractions and let potential buyers project their own lifestyle onto the property.
• Clear 90% of kitchen and bathroom benchtops to create a sense of scale, especially when preparing for high-definition Matterport 3D Tours.
• Standardise light globe colour temperatures and switch off all ceiling fans to ensure crisp, professional imagery without motion blur or colour casts.
• Empty the driveway and hide wheelie bins to protect the property's curb appeal and ensure the first impression is one of premium quality.
• Understand what not to do before real estate photos to avoid the "Photoshop will fix it" trap, saving time and costs on digital decluttering.
Selling a home in the 2026 market requires a shift from lived-in comfort to an aspirational asset. De-personalisation is the strategic removal of the current owner’s identity. It is a fundamental pillar of the principles of home staging. When potential buyers view a listing, they shouldn't feel like a guest in your home. They need to imagine themselves as the owner. Personal items like family portraits, heirlooms, and kids' artwork act as visual speed bumps. These items force the viewer to acknowledge your history instead of envisioning their own future in the space.
Modern real estate photography utilises high-resolution sensors that capture every minute detail. Small personal items you might overlook in person become glaring distractions in a digital gallery. The current trend in Australian property marketing leans heavily toward minimalist luxury. This aesthetic focuses on clean lines and open spaces. If you are wondering what not to do before real estate photos, leaving your personal life on display is the primary error to avoid. A cluttered shelf or a wall of memories can make a room feel cramped and dated, regardless of its actual size.
The kitchen is the engine room of the home and a primary focus for buyers. A fridge covered in bills, school drawings, and souvenir magnets creates immediate visual noise. It makes the space feel smaller and more chaotic than it actually is. For a premium listing, the fridge must be a blank canvas. Remove every single magnet. Even tasteful or expensive ones can disrupt the sleek finish of a modern kitchen. A clean appliance surface reflects light better and emphasises the quality of the surrounding cabinetry and floorplan.
Niche hobbies and personal beliefs are deeply meaningful, but they can unintentionally alienate certain buyer demographics. The goal is to create a neutral, high-end hotel feel that appeals to the widest possible audience. Large collections of trophies, model cars, or religious icons can distract from the architectural lines of a room. They pull the eye away from high-value features like ornate cornices or premium timber flooring. Store these items securely before the shoot day. This ensures the property’s structure remains the hero of every image, rather than your personal interests.
Technical precision in your preparation ensures the final marketing assets look professional and polished. By removing these personal identifiers, you allow the camera to focus on the home's permanent features. This creates a versatile visual narrative that speaks to every potential buyer who clicks on your listing.
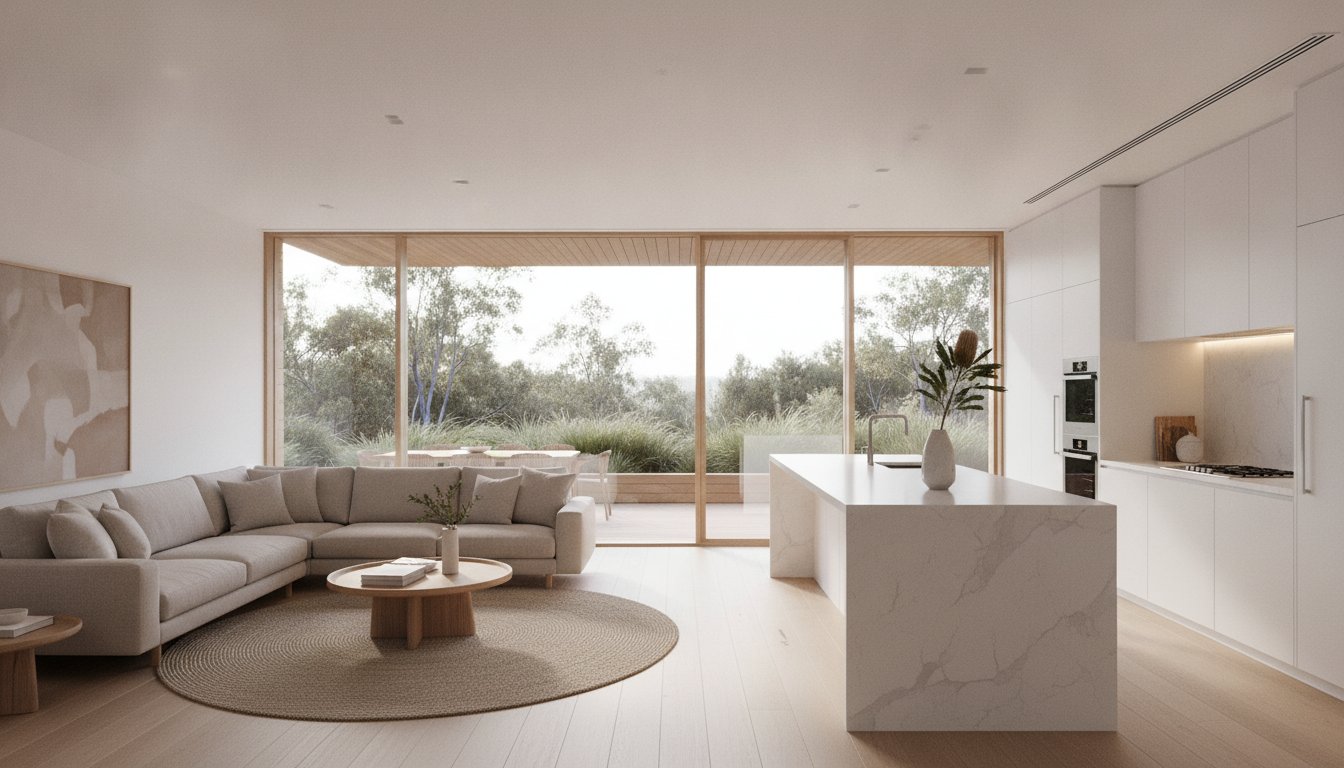
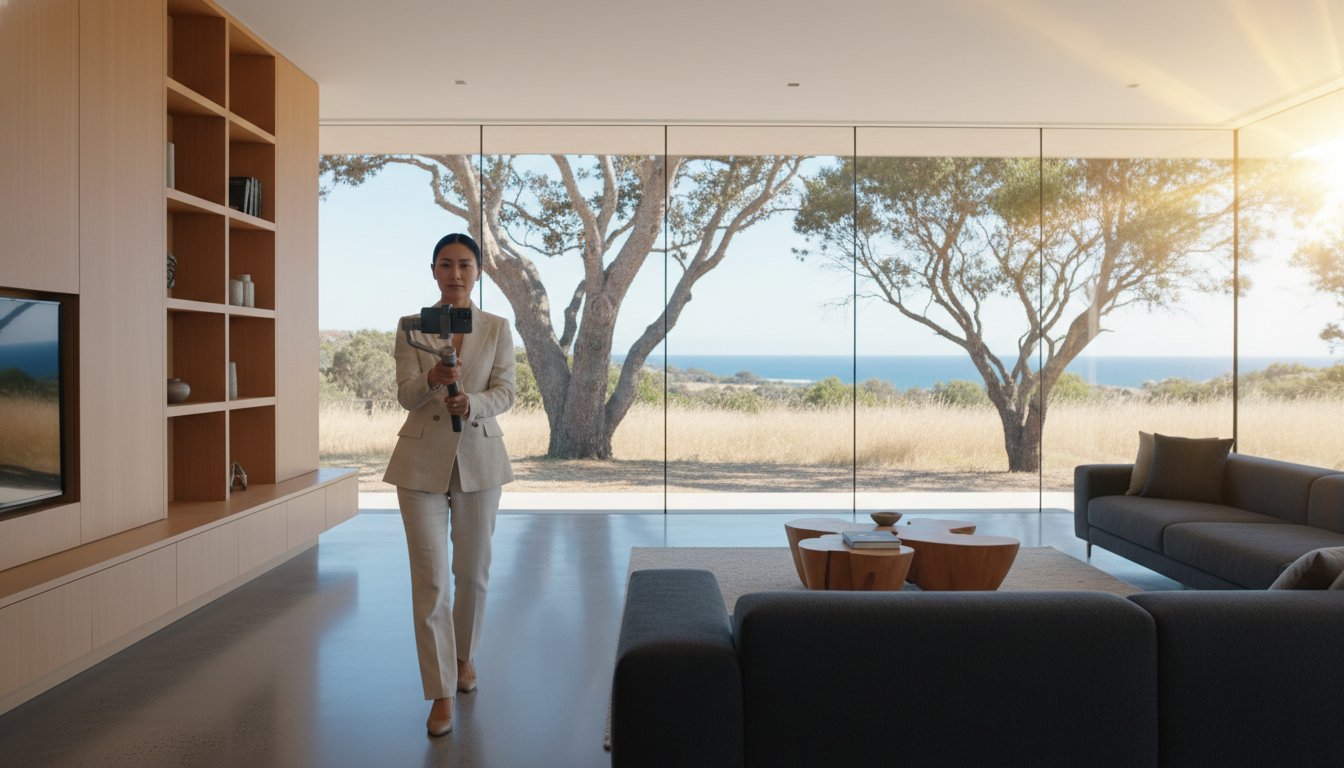
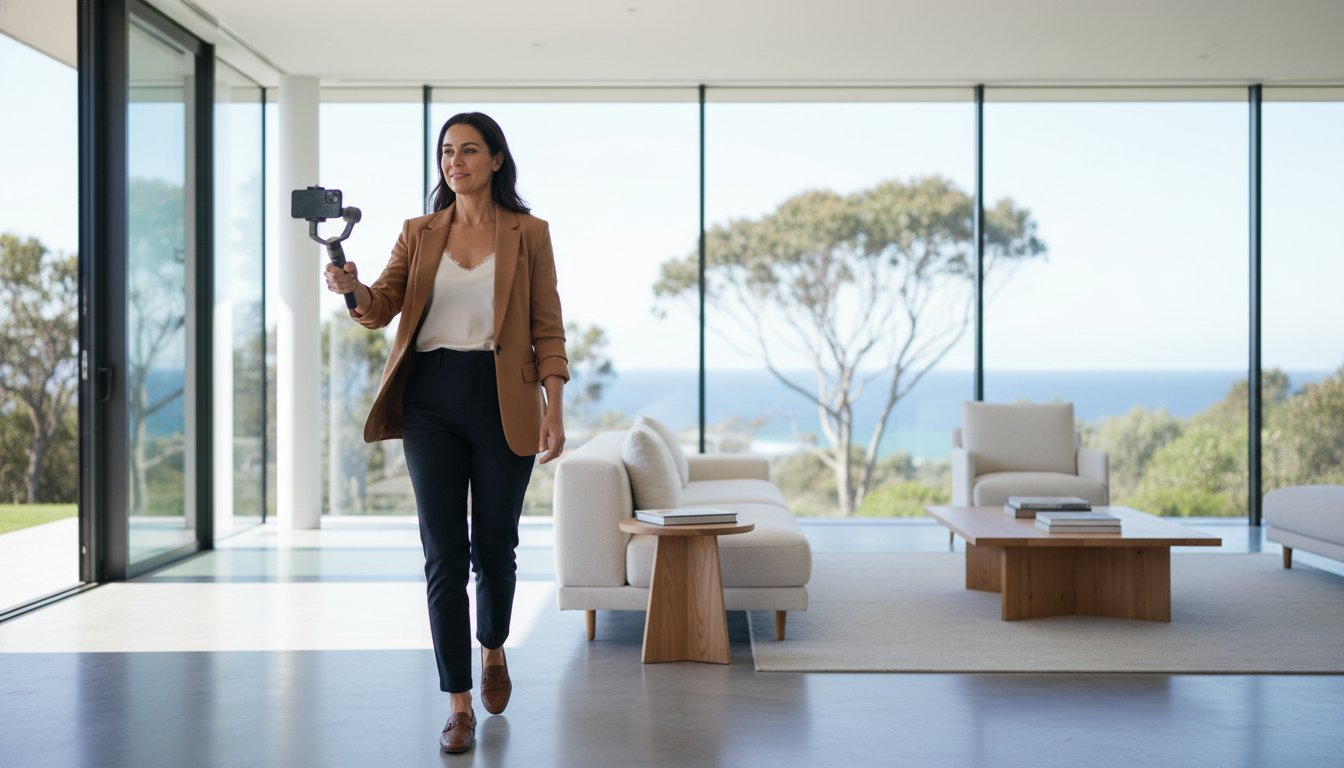
Kitchens and bathrooms are the highest-value rooms in any Australian listing. They are also the easiest to mess up. When considering what not to do before real estate photos, the most common mistake is leaving these spaces looking "lived-in." A lived-in look translates to "small and messy" on camera. You must clear approximately 90% of all items from your benchtops to achieve a premium marketing result. This is especially vital for Matterport 3D Tours, which capture 360-degree views and expose every corner, including the ones you think are out of sight.
Items like tea towels, dish racks, and sponges are functional in daily life but are ultimate photo-killers. They break the visual flow of a high-end kitchen. Even a clean sponge or a bottle of detergent sitting by the sink suggests a chore-filled lifestyle rather than a luxury one. Hide these under the sink before the photographer arrives. If you want your listing to generate immediate enquiries, these rooms must look like unblemished showrooms.
Select your "hero" items carefully. A high-end espresso machine or a designer fruit bowl can stay; they signal a premium lifestyle. However, the toaster, the kettle, and the knife block should be tucked away. This decluttering process extends to the pantry. In 2026, buyers expect to see the storage capacity, and an organised pantry complements your real estate floor plans by proving the home's functional efficiency. Clear lines and empty surfaces are the goal.
Transform your bathroom into a spa sanctuary by following strict industry rules. The most important is the "Toilet Seat Down" rule. It is a simple but non-negotiable step that instantly elevates the professionalism of your gallery. Remove all bath mats from the floor. While they feel soft underfoot, they hide the tiles and shrink the perceived floor space. You want to showcase the quality of the finish and the total square metreage.
The "No-Go" list for bathrooms includes:
• Toothbrushes and toothpaste tubes.
• Half-used soap bars or plastic liquid soap dispensers.
• Squeegees, plungers, and toilet brushes.
• Weight scales and laundry baskets.
Ensure all shower screens are streak-free and mirrors are polished. If your property is ready for the spotlight, register your account to book a professional session that captures these details perfectly. By treating these rooms as showrooms rather than utility spaces, you maximise the perceived value and drive immediate buyer interest.
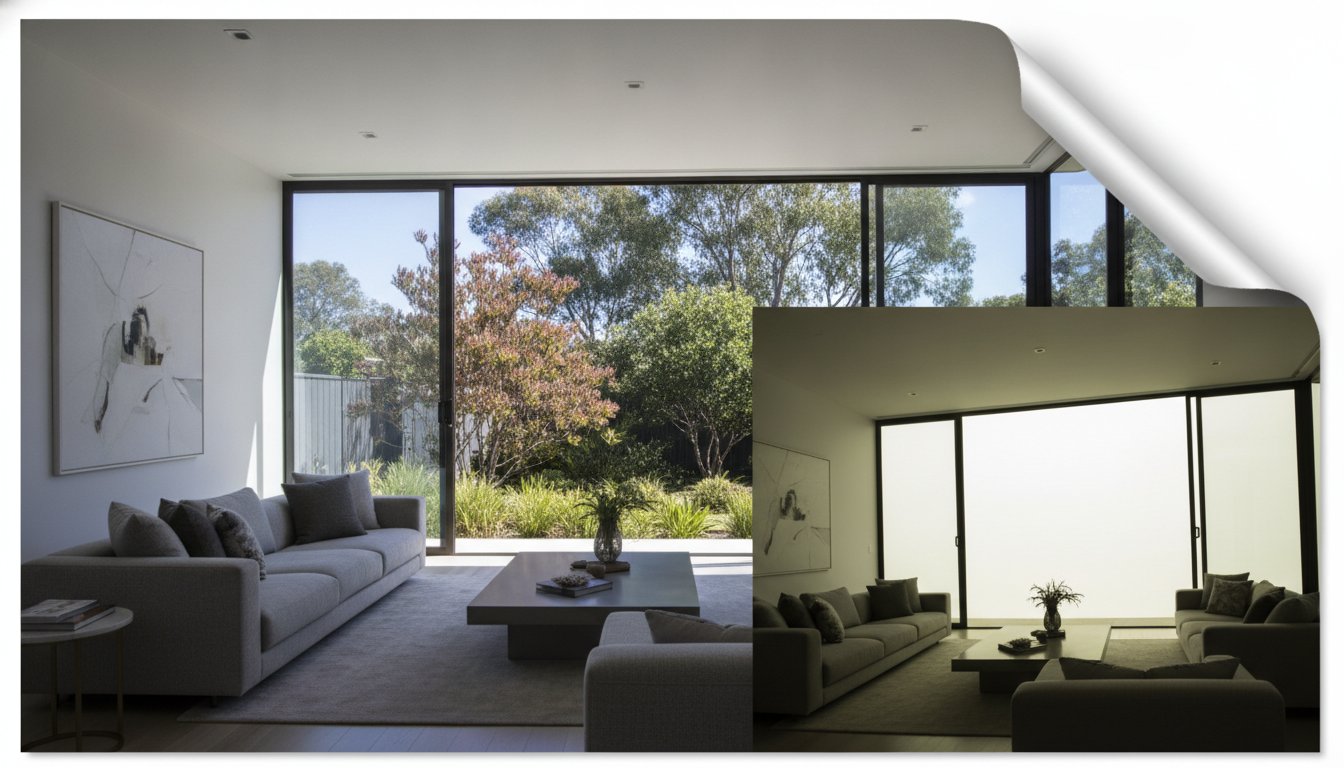
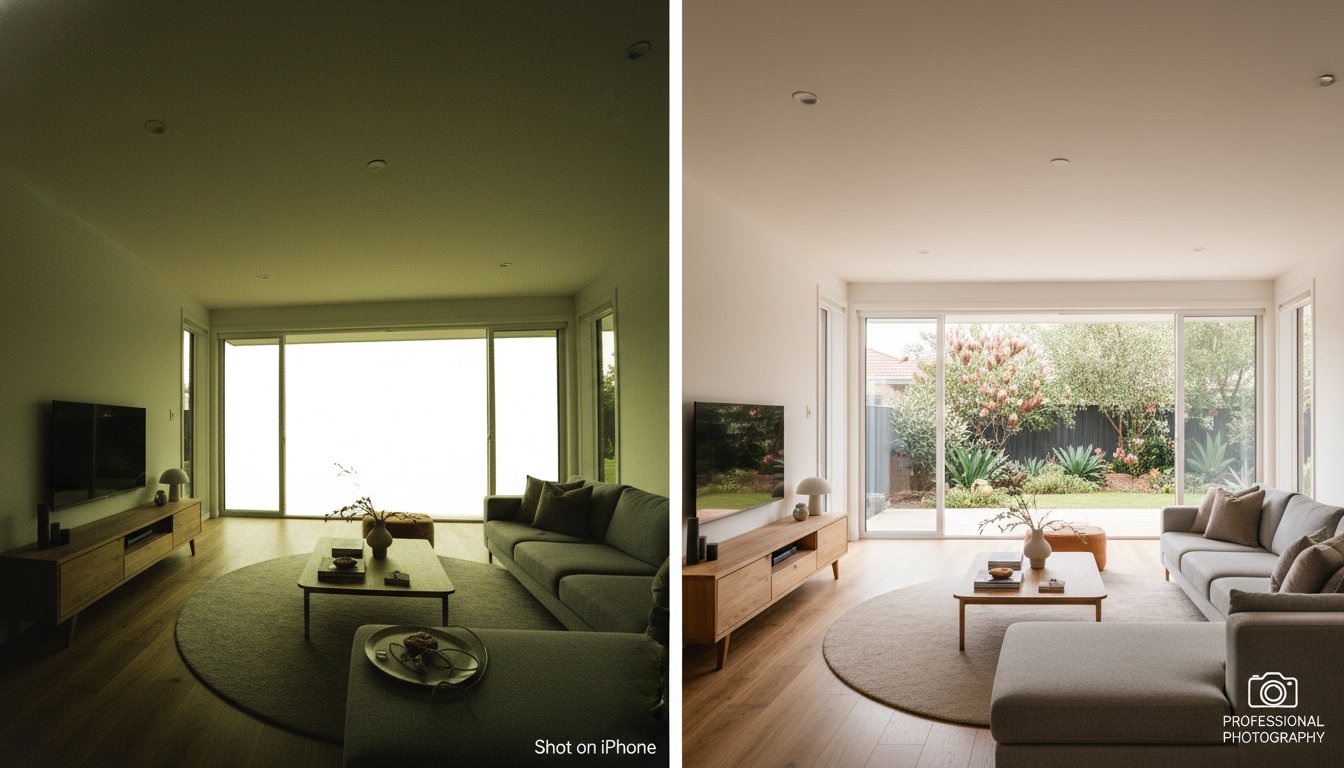
Lighting is the most technical element of a property shoot. Many vendors assume that simply opening the curtains is enough, but professional property marketing services in Australia use advanced HDR techniques that require a controlled environment. High Dynamic Range photography captures multiple exposures to balance bright windows with darker corners. If your interior lighting is inconsistent, it creates "colour casts" that are difficult and expensive to correct in post-production. Understanding what not to do before real estate photos includes mastering your light sources before the photographer arrives.
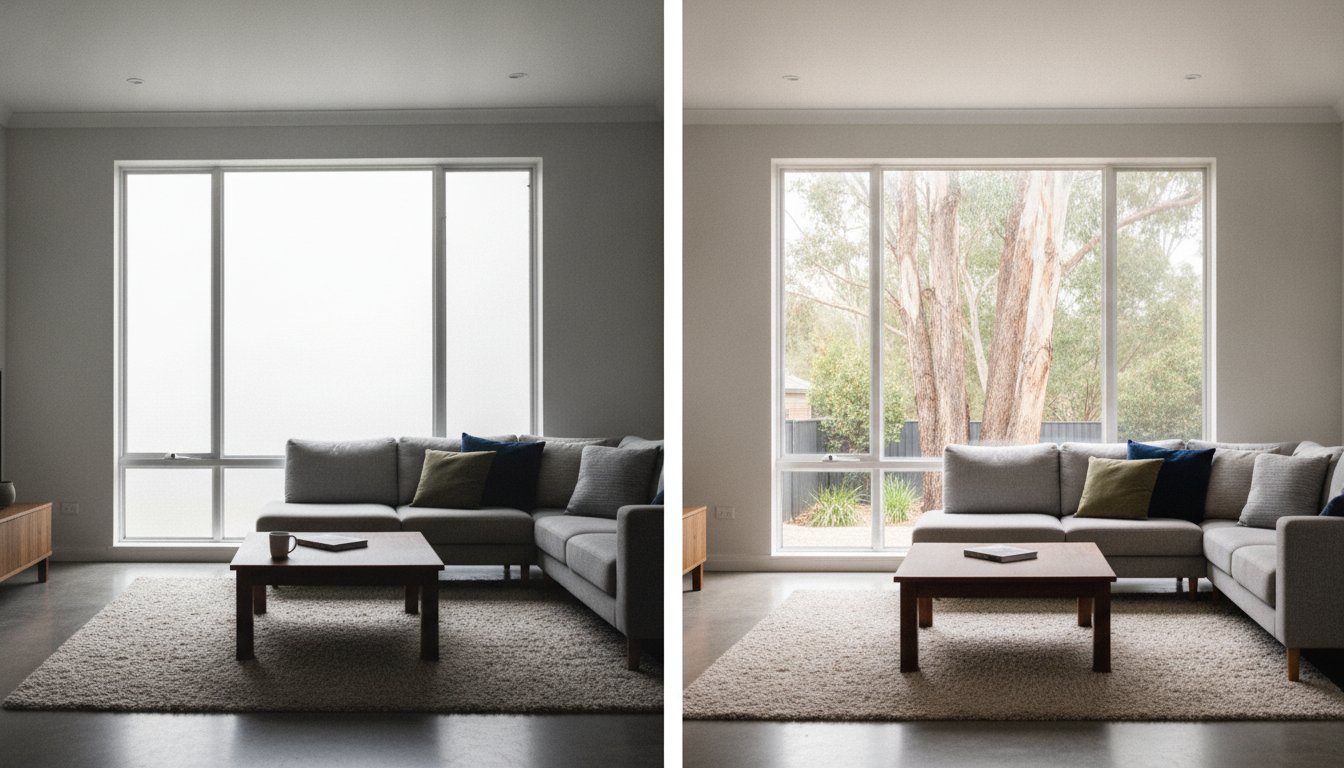
One of the most frequent errors is mixing light globe temperatures. If you have "warm white" globes in your bedside lamps and "cool white" globes in the ceiling, the camera will see a messy clash of yellow and blue hues. This lack of uniformity makes a premium home look uncoordinated. Similarly, window treatments must be consistent. Half-drawn blinds are a distraction. They create uneven light blocks that break the visual symmetry of a room. It's an "all or nothing" rule: either open them fully to showcase the view or close them completely to create a clean, minimalist backdrop.
Conduct a full lighting audit 24 hours before your scheduled shoot. Check every single fixture, including rangehood lights and outdoor lanterns, for blown globes. For a modern, crisp aesthetic, industry experts prefer "Daylight" globes (5000K-6000K). These mimic natural light and prevent the dated yellow glow associated with older properties. While ceiling lights provide the base illumination, don't forget to turn on bedside lamps and accent lights. These smaller light sources create essential depth and "mood," making the home feel inviting and sophisticated on screen.
Ceiling fans should always be switched off. The high-resolution sensors in professional cameras will capture a moving fan as a ghostly blur, which devalues the image quality. This is even more critical for a Matterport 3D virtual tour. Moving objects can confuse the infrared sensors, leading to "glitches" in the digital twin of your home. Additionally, turn off all televisions and computer monitors. A black screen acts as a mirror, often reflecting the photographer or their equipment. Finally, consider removing flyscreens from primary windows. This small step significantly improves the clarity of the "view" and makes the interior feel more connected to the outdoors.

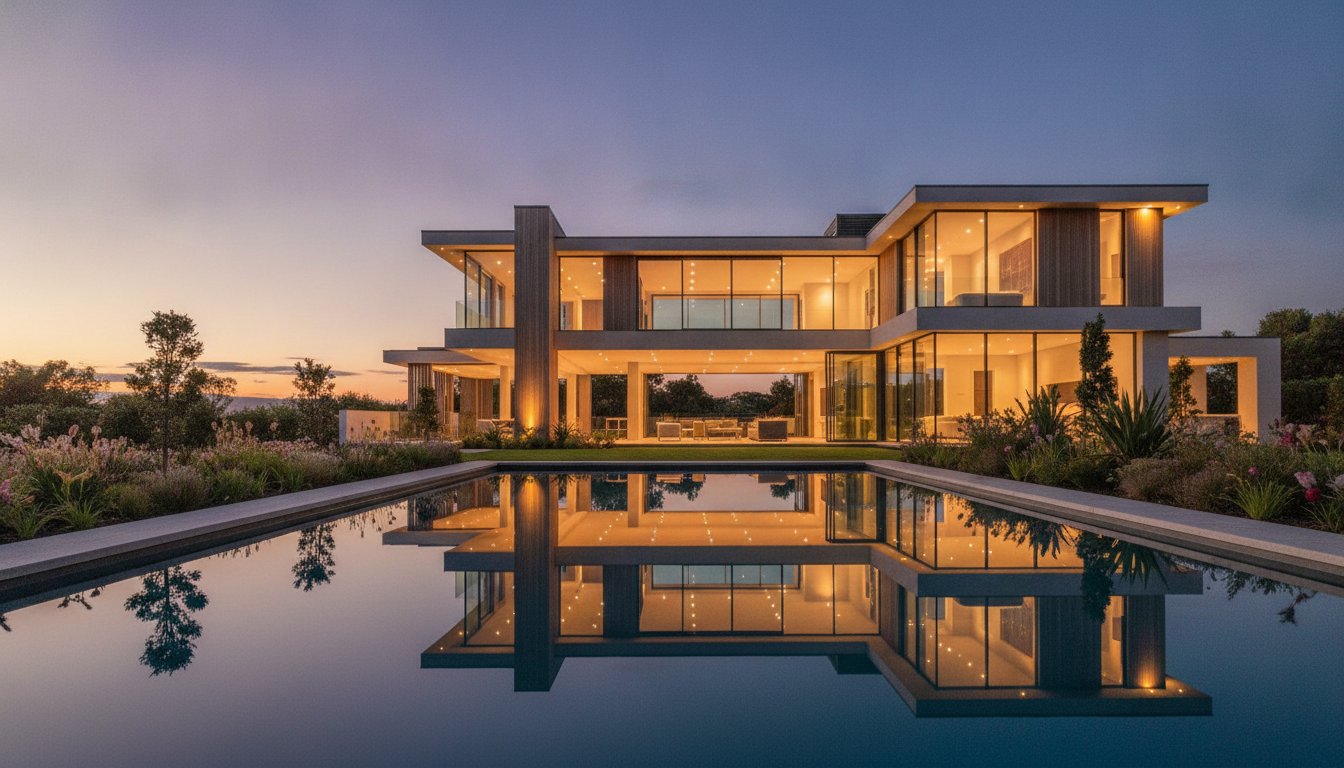
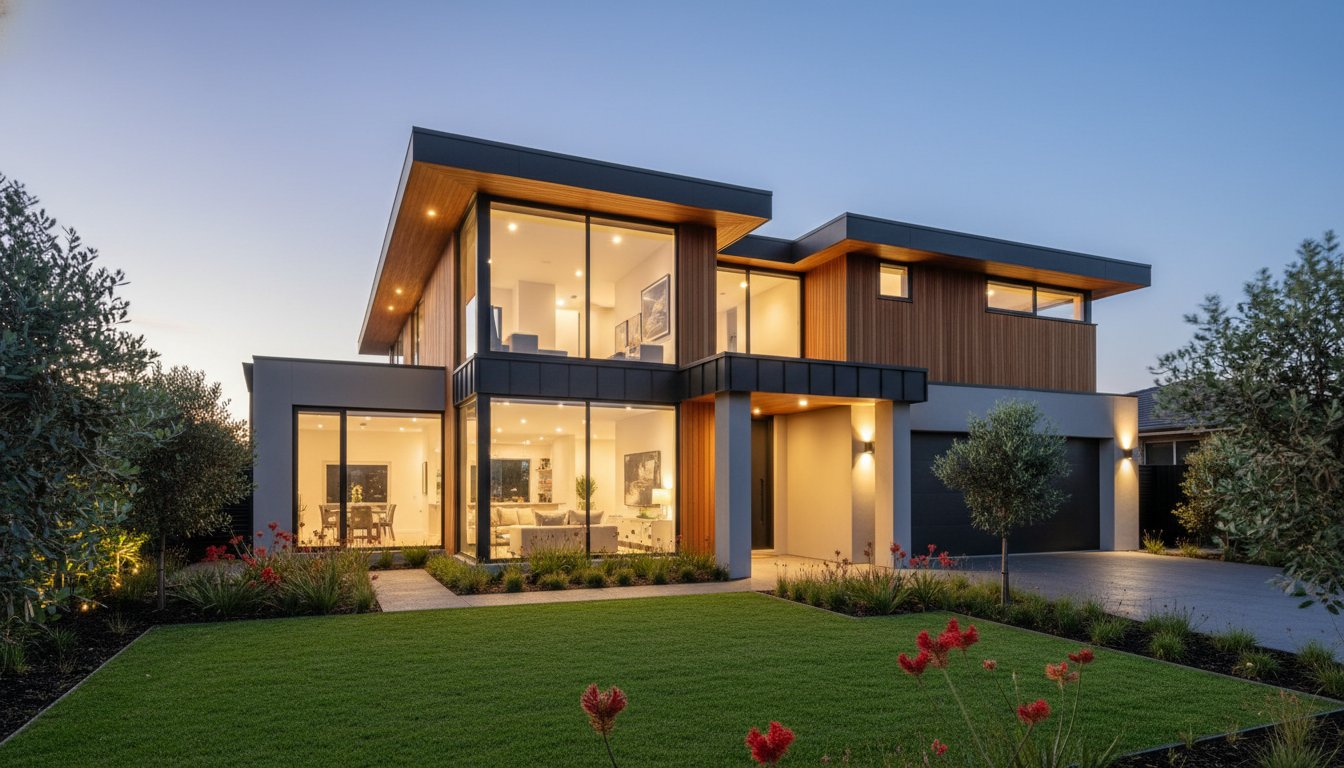
The exterior shot is the hero of your digital listing. It is the primary image that determines whether a buyer clicks through or scrolls past. When planning what not to do before real estate photos, neglecting the kerbside is a critical error. A premium first impression requires a completely clear foreground. Any visual clutter between the camera and the front door will devalue the property's perceived worth. You must treat the streetscape as an extension of the home's interior.
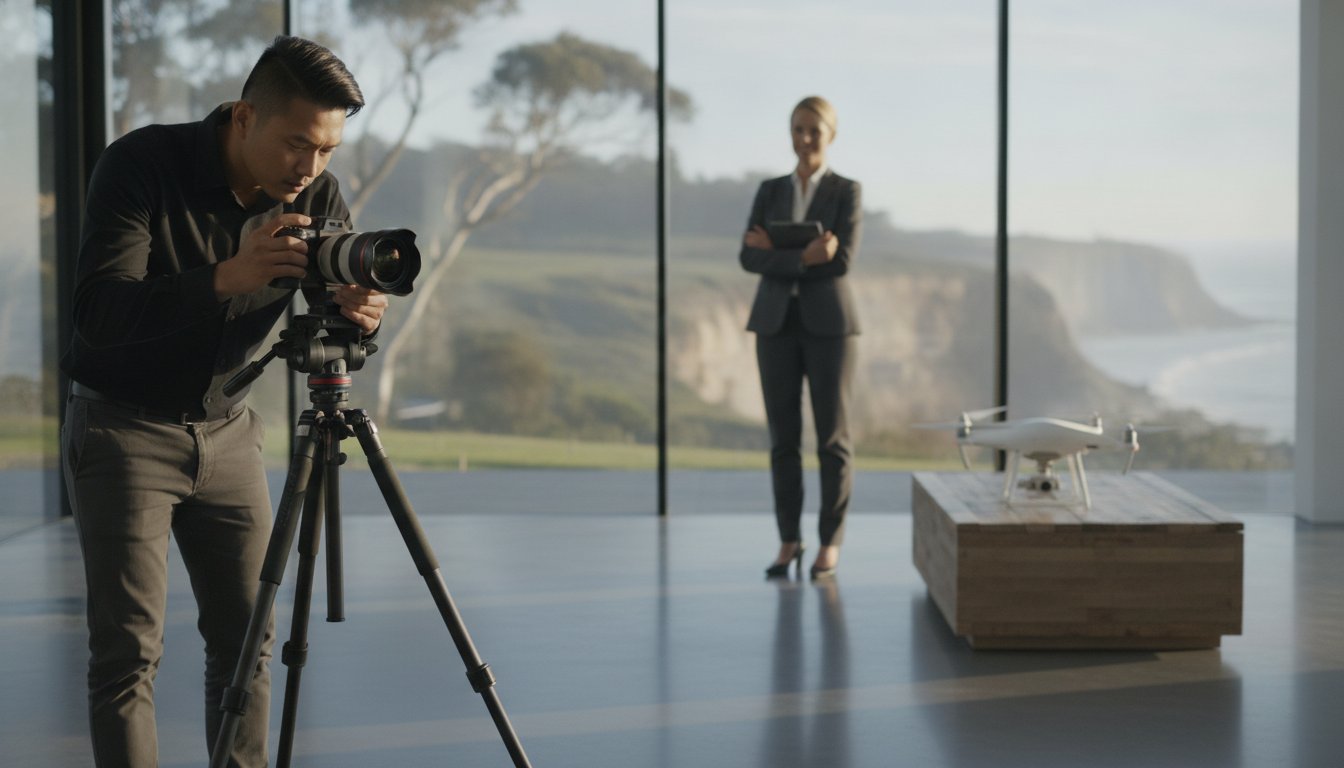
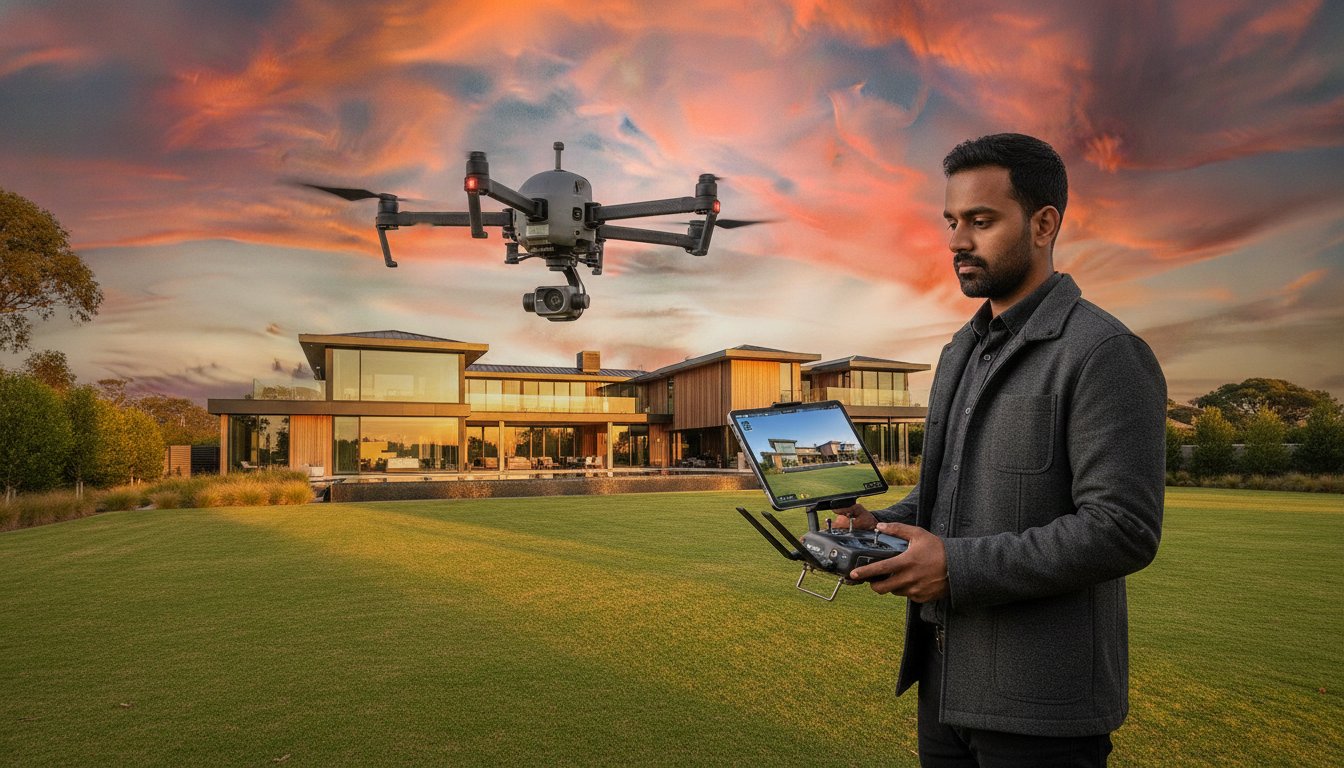
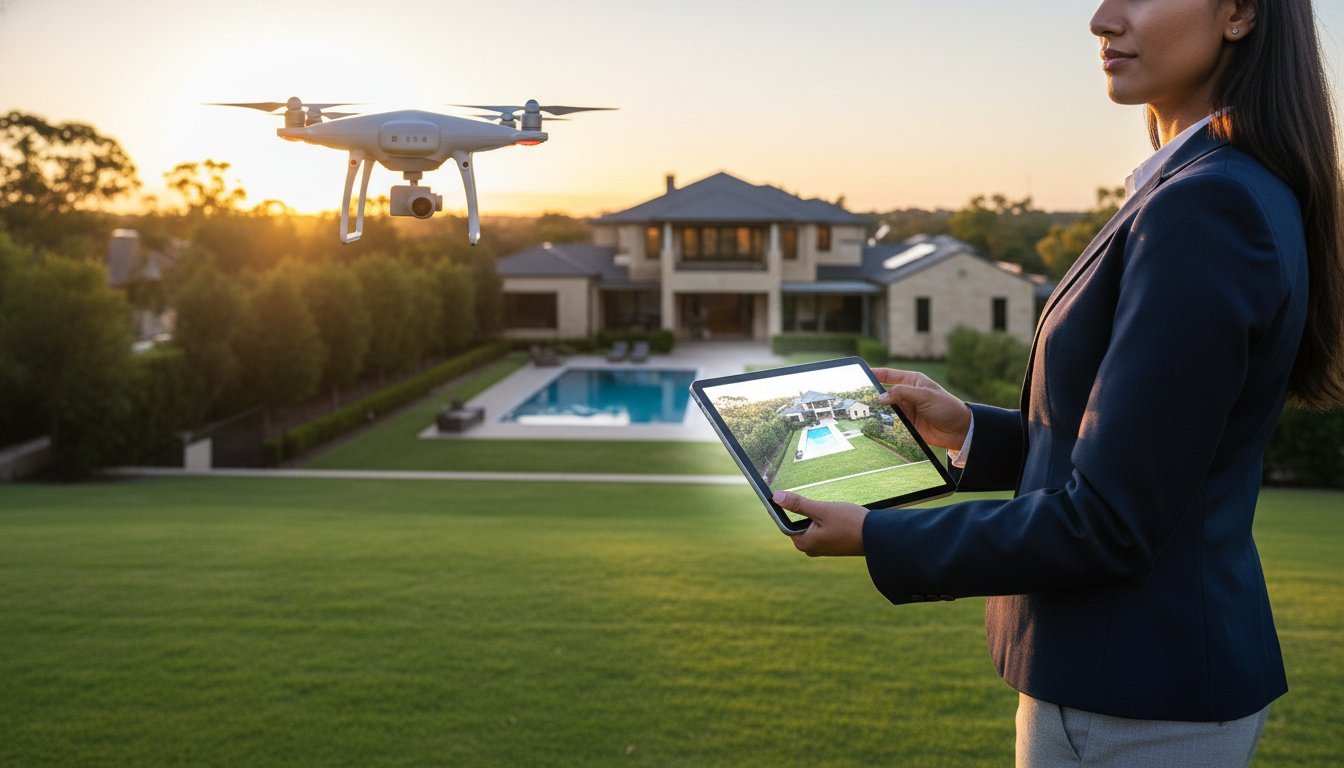
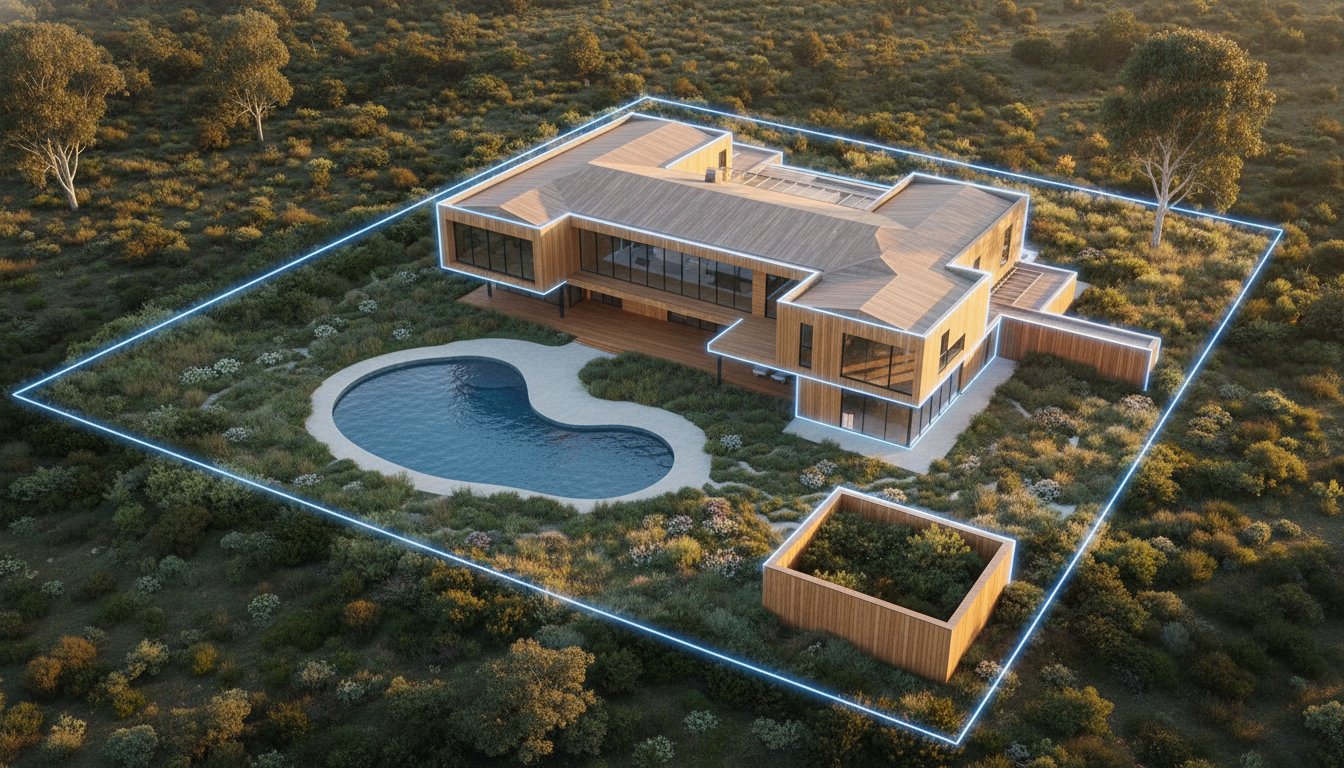
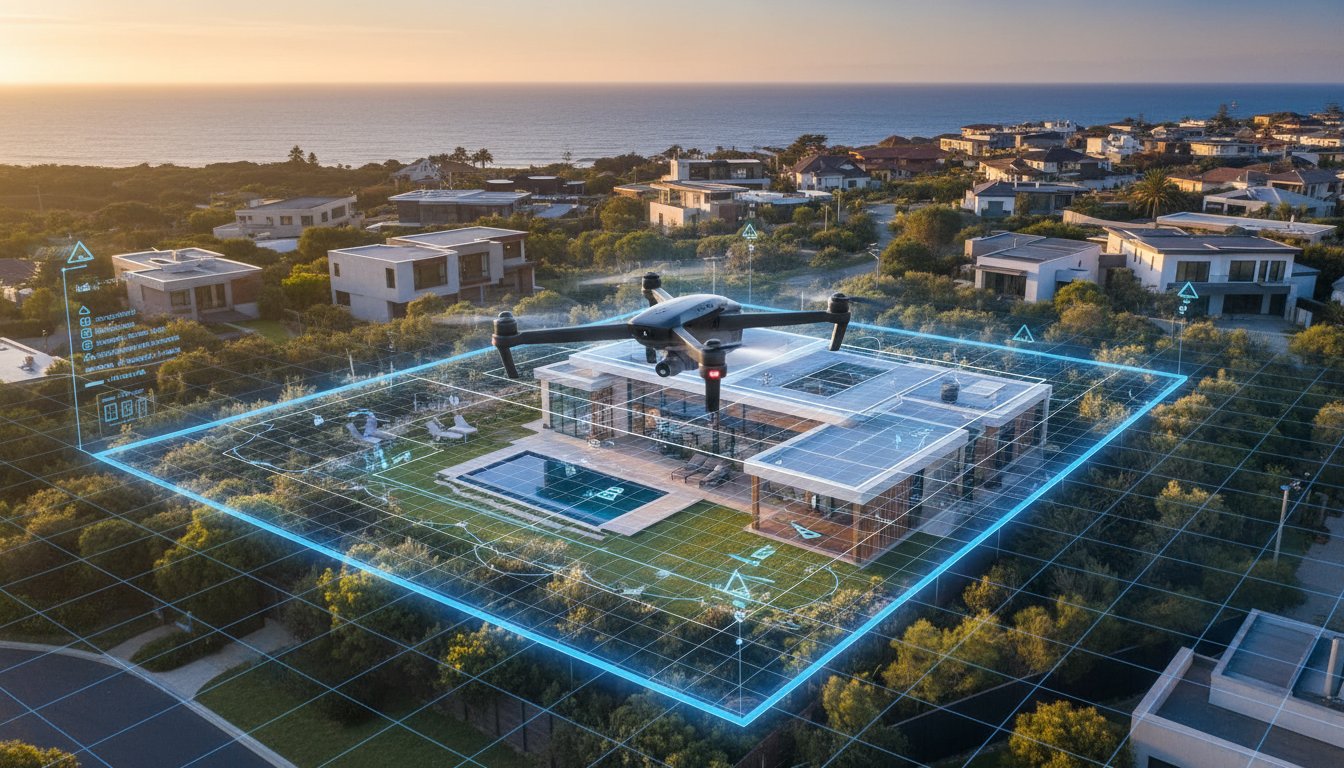
Wheelie bins are a visual disaster for professional imagery. Store them in the garage or behind a side gate. Never leave them on the kerb, especially if your shoot coincides with council collection day. The driveway must be vacant. Cars, trailers, and bikes distract from the property's architecture and suggest a lack of storage space. Modern marketing relies heavily on aerial drone photography. This "eye in the sky" reveals details invisible from the ground. Debris on the roof, messy gutters, or a tangled garden hose in the side passage will be captured in high-definition. Coiling your hose is not enough. Hide it entirely to maintain the garden's clean lines.
Sweep the gutter area directly in front of your home. Removing leaves and street litter creates a manicured look that suggests meticulous property maintenance. If a "For Sale" sign is already installed, ensure it does not obstruct the architectural view of the home. Sometimes, these signs are better left off until after the photography session is complete. Street appeal is about precision. A clean, empty road in front of the house makes the property feel more exclusive and private.
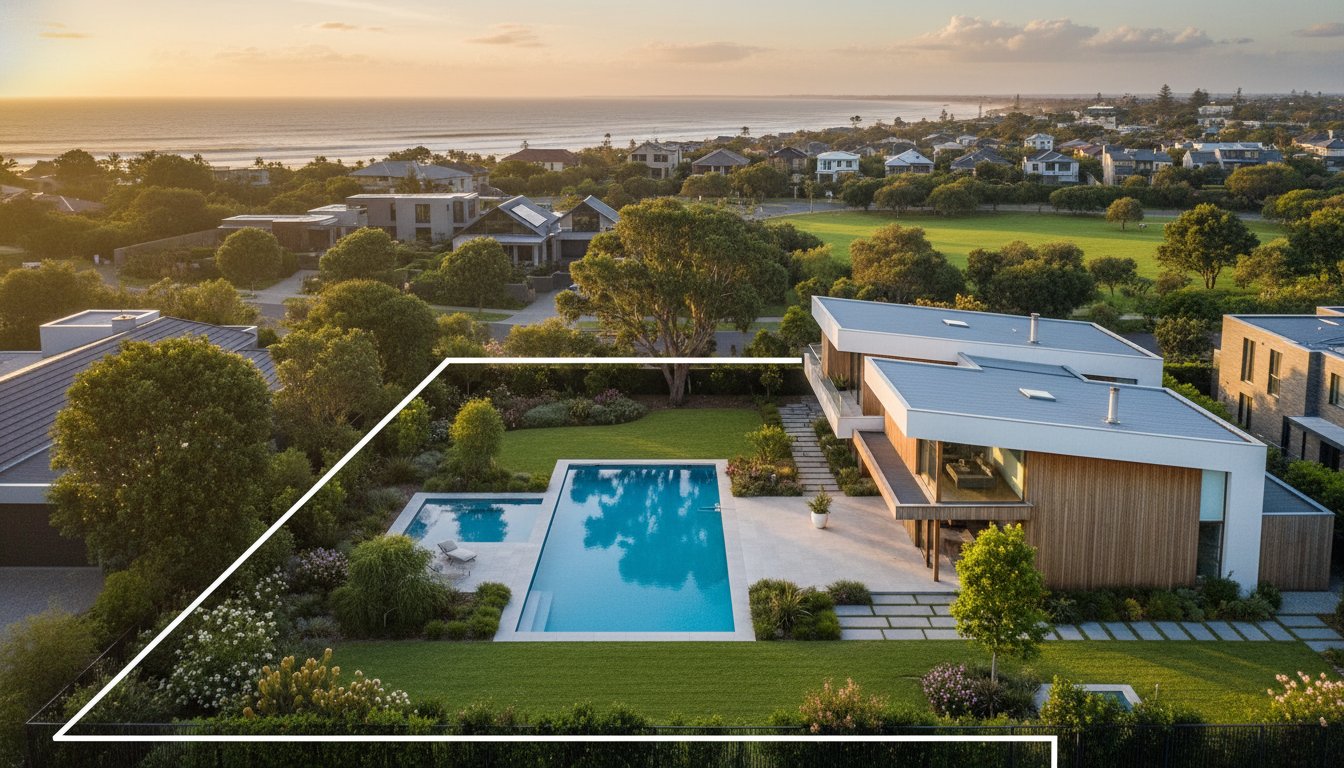
The pool zone must look like a resort sanctuary. Remove the "creepy crawly" pool cleaner and the pool cover before the photographer arrives. These items are utilitarian and ruin the aspirational "blue water" aesthetic. Eliminate all evidence of pets. Kennels, water bowls, and toys must be completely invisible. Timing your gardening is also essential. Mow the lawn 2-3 days before the shoot. This allows the grass to settle and ensures no fresh clippings are scattered across paths or the pool surface on the morning of the session.
For a professional finish that maximises your final sale price, register your account to access our full suite of exterior marketing services. By removing these external distractions, you ensure your property stands out as a premium listing from the very first click.
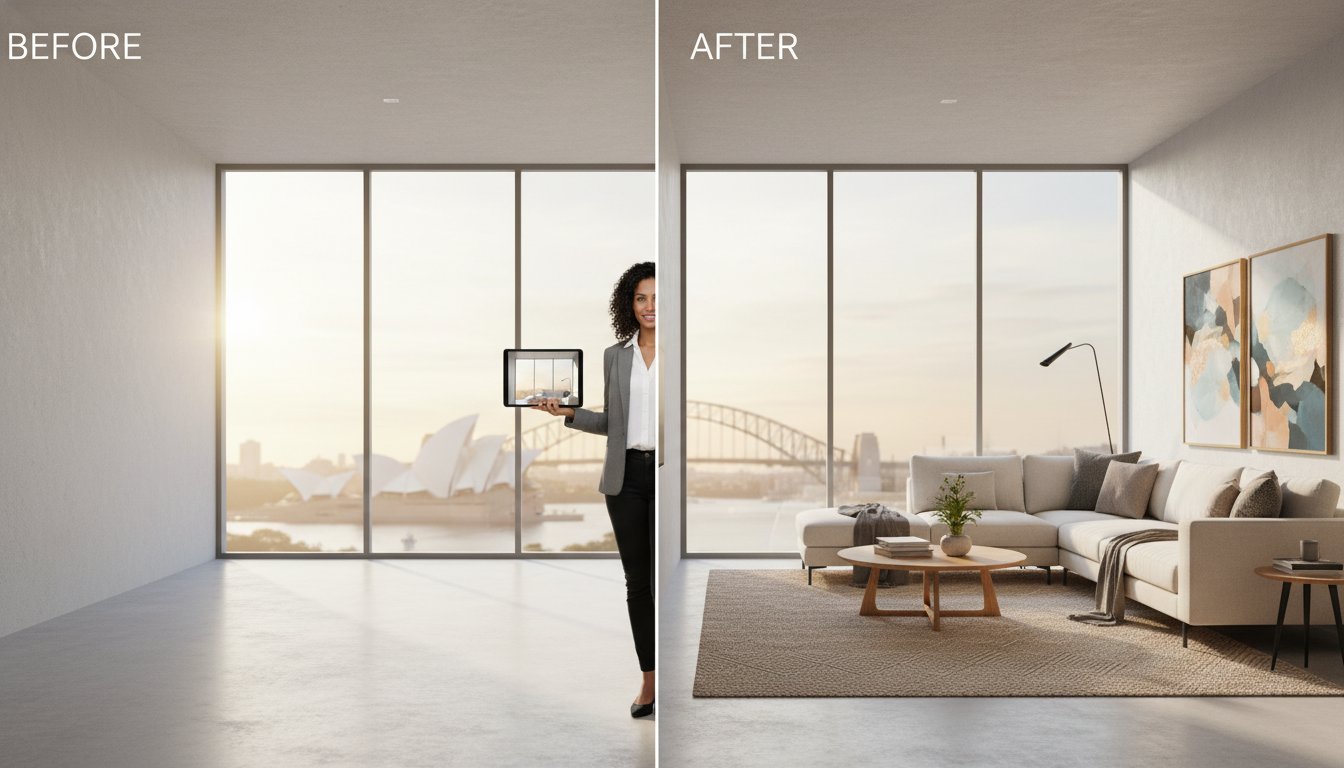
A common misconception among vendors is the belief that digital editing can rectify any lack of preparation. While virtual furniture is a powerful tool for transforming empty spaces into aspirational homes, it cannot mask structural neglect or deep-seated mess. Relying on "fixing it in post" is a high-risk strategy that often leads to increased marketing costs and a lower final sale price. When you consider what not to do before real estate photos, assuming the photographer can simply "delete" large piles of rubbish or dirty grout is at the top of the list.
Digital decluttering is a precision service, but it is often more expensive and less effective than physical cleaning. Editing out a single stray item is straightforward. Attempting to digitally remove a room full of boxes or mismatched furniture requires extensive labour that can result in an unnatural, "uncanny valley" look. Authenticity is a primary driver for 2026 buyers. If your online photos look like a digital fabrication that doesn't match the physical inspection, you immediately lose the buyer's trust. High-resolution imagery is designed to highlight the home's best features, which works best when the "canvas" is properly prepared.
Our technical team can perform miracles with light and atmosphere. We can provide sky replacements for overcast days, add realistic fire to fireplaces, and enhance the green of your lawn. However, we cannot easily fix major wall cracks, remove large vehicles from the foreground without distorting the background, or "clean" stained carpets. Physical effort in the real world always yields a superior result compared to digital patches. The time spent moving a pile of laundry is far more valuable than the cost of trying to edit it out later.
Perform a final 10-minute "last look" before your photographer arrives. Small details often slip through during the rush of a major clean. This quick scan ensures your marketing assets remain premium and professional. Use this checklist to catch the most common last-minute errors:
• Ensure all toilet lids are closed in every bathroom.
• Hide all pet bowls, beds, and toys in the laundry or garage.
• Remove stray shoes from the front door and hallways.
• Check that bathroom towels are folded perfectly or removed entirely.
• Verify that all internal doors are open to maximise the sense of flow.
Ready to showcase your property with industry-leading visual marketing? Book your professional UberRE shoot today to ensure your listing captures the attention it deserves. By combining thorough physical preparation with our high-tech output, you create a listing that generates immediate enquiries and a smooth, stress-free sale process.
A successful property campaign relies on technical precision and a subtractive mindset. By mastering de-personalisation and ensuring your lighting remains consistent, you transform a lived-in space into a premium market asset. Avoiding external distractions like kerbside clutter and pet zones protects the integrity of your hero shots. Understanding what not to do before real estate photos ensures you provide a clean, high-resolution canvas that maximises the impact of professional editing and digital enhancements.
Your property deserves the highest standard of visual excellence to attract high-intent buyers. We provide a professional Australian-wide service network equipped with 4K Drone technology and Matterport 3D Tours to capture every detail with absolute clarity. With our 24-hour turnaround on all content, you can move from preparation to listing with modern efficiency. Elevate your listing with Australia’s leading property marketing specialists at UberRE. Your meticulous preparation, combined with our technical expertise, will ensure your home stands out as a high-end sanctuary. We look forward to helping you achieve a superior sale result.
No, photographers are not insured to move furniture or heavy items. You should have all rooms staged and furniture positioned exactly as you want it before the professional arrives. This avoids delays and ensures the session remains focused on technical image capture. If you are unsure about what not to do before real estate photos, remember that a photographer’s role is to document the space, not provide physical labour or removal services.
It's not necessary for you to be present, provided the photographer has clear access via a key or lockbox. Many industry professionals prefer an empty property as it allows them to move through rooms efficiently without distractions. If you do choose to stay, ensure you remain in a separate area from the camera's view. This prevents accidental inclusions in high-definition wide-angle shots or 3D tours that require a clear line of sight.
Secure all pets off-site or in a dedicated outdoor enclosure that won't be photographed. Pets can interfere with technical equipment and their presence in photos can alienate buyers with allergies or different lifestyle preferences. Ensure all bowls, beds, and toys are hidden. Removing pet evidence is a vital part of the process when considering what not to do before real estate photos to maintain a premium, neutral aesthetic throughout the gallery.
Open all curtains and blinds fully to maximise natural light and showcase the property's views. Consistency is vital; either have them all open or all closed to maintain visual symmetry across the listing. Professional HDR photography balances interior and exterior light levels, so you don't need to worry about glare. Ensure window tracks are clean and flyscreens are removed if they obstruct a particularly high-value view or garden aspect.
A standard residential shoot generally takes between 60 and 90 minutes. However, this duration increases if your marketing package includes advanced products like Matterport 3D Tours, Video Tours, or Twilight Photography. Larger properties or those requiring extensive aerial work will also necessitate more time on-site. Having the property fully prepared before the scheduled start time ensures the photographer can maintain a steady, professional pulse and complete the task without logistical delays.
Yes, professional imagery has a direct impact on your final sale price. Research indicates that homes with professional photos can sell for 47% more per square foot. On average, high-quality visual marketing can increase a property's sale price by between $3,400 and $11,200. Listings featuring professional content receive 61% more online views, significantly increasing the likelihood of competitive offers and a faster transaction. Quality visuals are the most effective tool for driving buyer engagement.
Interior photography usually proceeds as planned, as modern sensors and lighting equipment can compensate for lower natural light levels. For exterior shots and aerial work, light rain might be managed with digital sky replacement in post-production. However, heavy rain or high winds will require a reschedule of the external components to ensure safety and output quality. We monitor local weather patterns closely to provide reliable service assurance and minimise any logistical disruptions to your marketing campaign.
You don't need to clean the inside of every cupboard unless they are "walk-in" features like a butler's pantry or a master dressing room. These high-value storage areas are often included in Video Tours or 3D walkthroughs to demonstrate capacity. For standard photography, keep cupboard doors closed. If you are showcasing a premium kitchen, ensure the pantry is organised, as buyers frequently check these spaces during the physical inspection following their digital first impression.

-2.png)